
Create an unplanned donation

Useful information for food banks, donor branches and donor organisations.

As a donor or a food bank you can offer surplus food using the Foodiverse platform. 

Instructions

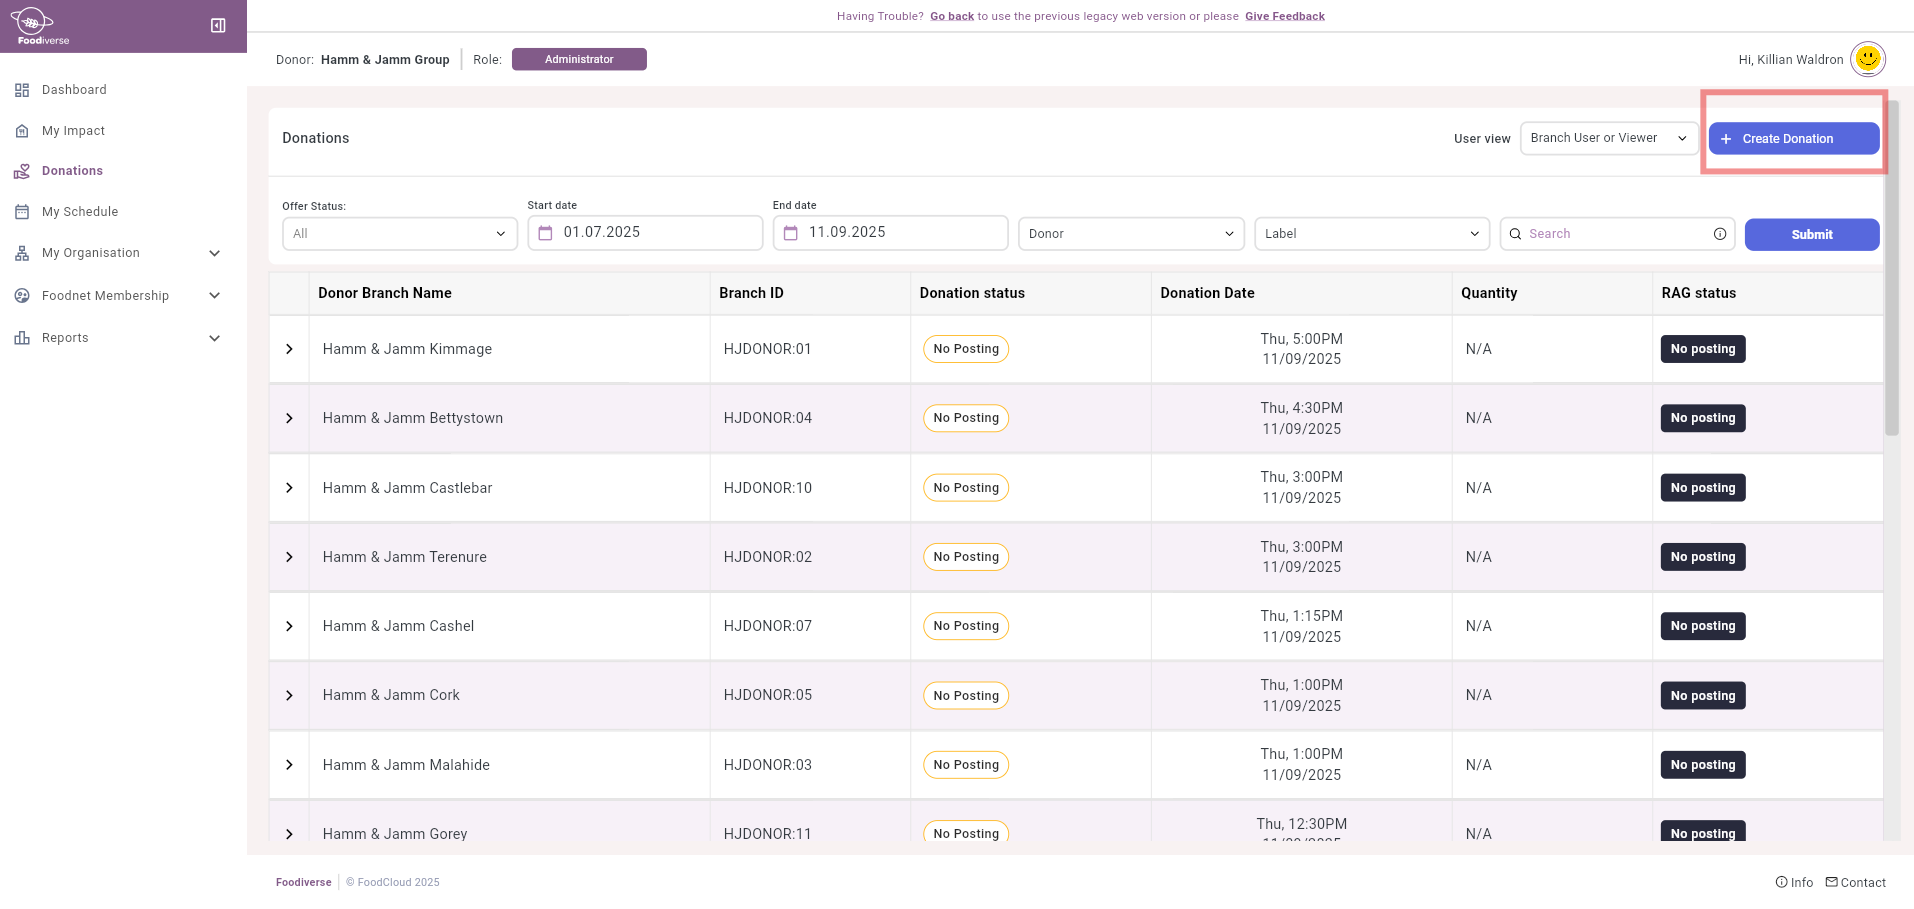
  1. You can start your donation either on your Dashboard by clicking on ‘+Create Donation’:

  2. You can also create your donation in ‘My Donations’ by clicking on ‘+Create Donation’:

Steps to follow when creating a donation:

  • Select Branch - this is where you select the branch that you want to send the donation from if you are logged in as the organisation administrator. If you are logged in as a branch user, only your branch will be displayed.

  • Prepare Donation - this is where you specify the details of your donation and you will be asked to select specific food categories. This can be set up in advance as well as custom units of measure.

Setup default food categories

  • Notification Window - this is where you can specify that your donation will be unplanned.

  • Donation Transfer Window - this is where you can specify how the donation will be transferred (either a collection or a delivery) and when the donation can be transferred - this is where you can either select a set up transfer window from your schedule (if your unplanned donation is posted during a scheduled window) or you can click on ‘+Add Custom Times’ to provide an alternative option. This is also where you specify how many recipients you want this donation to be split between, see Add Custom times below.

Note: This example below spans 2 days. The Transfer Window begins at 23:00 on Monday and ends at 01:00 on Tuesday. See How to Extend Transfer Window for details on this feature.

  • Add Custom times - You can specify Custom Starts at and Ends At times for this donation.

You can also choose the Max recipients (default is 1) if you want to split the donation over multiple charities. e.g. If your donation contained Ambient and Chilled and your Primary charity is only approved for Ambient, selecting Max recipients will offer the Ambient portion of the donation to the Primary charity and the Chilled portion of the donation to another charity.

You can select specific Primary and/or Waitlist charities for this donation.

(If you leave these fields empty the donation will go straight to the Foodboard)

  • Accept by Time - (Optional)

Click on the Date widget to select a specific Accept by time for this donation. The Accept by Date and Time is the latest time that a donation can be collected. Leave it blank to accept the Accept By setting for your organisation (in the example below the Accept By Time setting is 30 minutes). If the Donor wishes to know well in advance of the end of the last Transfer Window whether a recipient is accepting the offer, then a specific Accept By Time can be entered here.

You cannot set an Accept by time to be in the past and it should be set to a value earlier than the end of the last Transfer Window.

You can also specify your own optional Donation reference number.

  • Donation Summary - Review your donation and double check that everything is correct before posting it.

  • Click Next to complete the donation process.


Still haven’t found your answer? Try:

Donate Food

Create a scheduled donation

Create a multi-collector donation

JavaScript errors detected

Please note, these errors can depend on your browser setup.

If this problem persists, please contact our support.