
Download the Foodiverse app for IPhone or Android
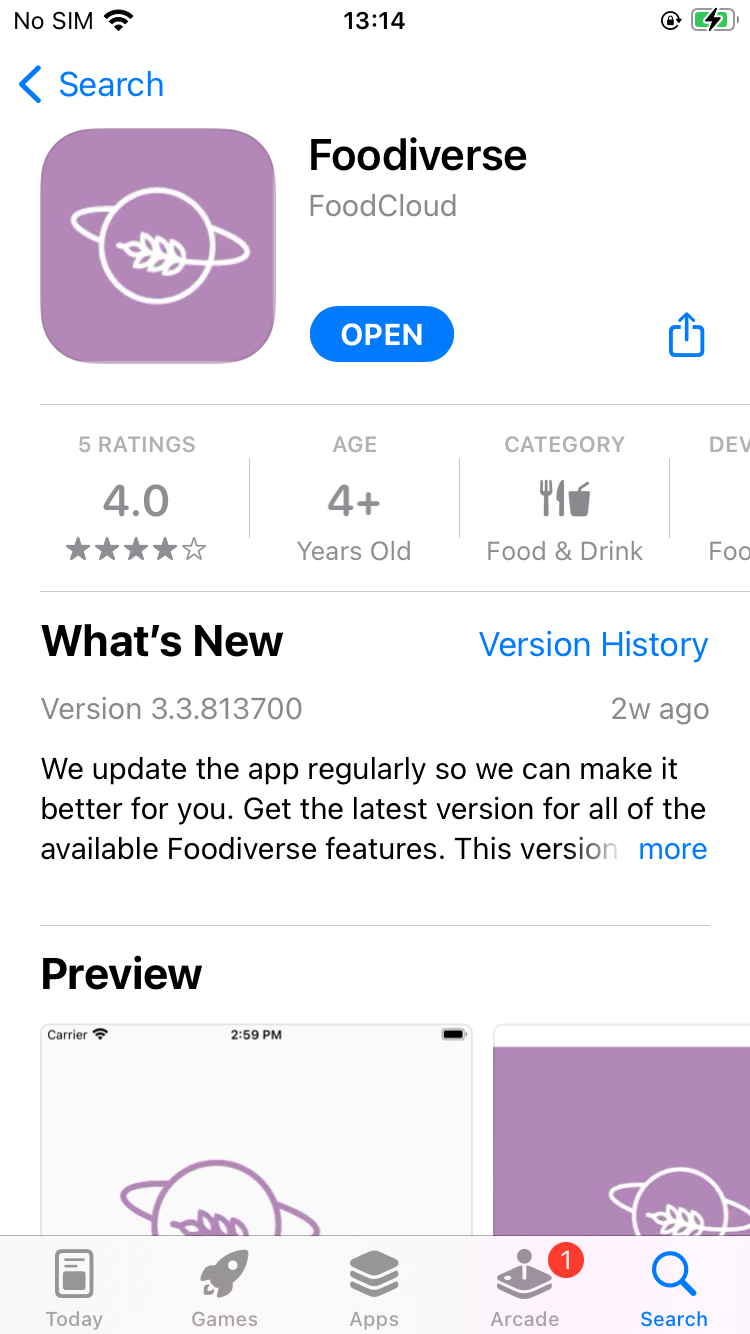
Open your devices app store and search for Foodiverse.
You can click the Cloud icon to install immediately or select the app to see more details about the Foodiverse app including the release version.
Once the app has been downloaded and installed on your phone, click on Open.
Sign-in to the Foodiverse app
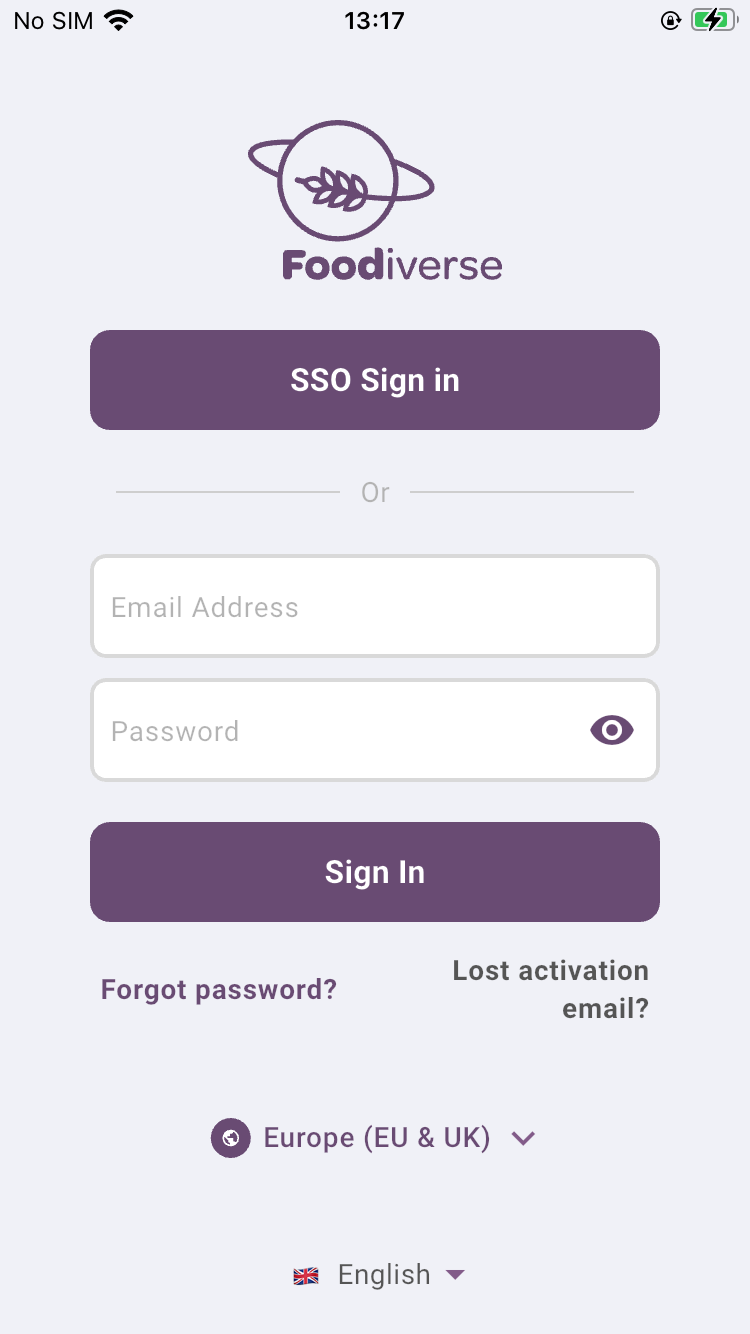
Use your Foodiverse login credentials and Sign In.
The credentials will be those with which you registered with on the web app OR those that have been provided to you by your Food Net administrator.
If you are having difficulty with your password (if it contains Upper and Lower case and special characters) you can click the View Password button in the Password field to reveal what you typed.
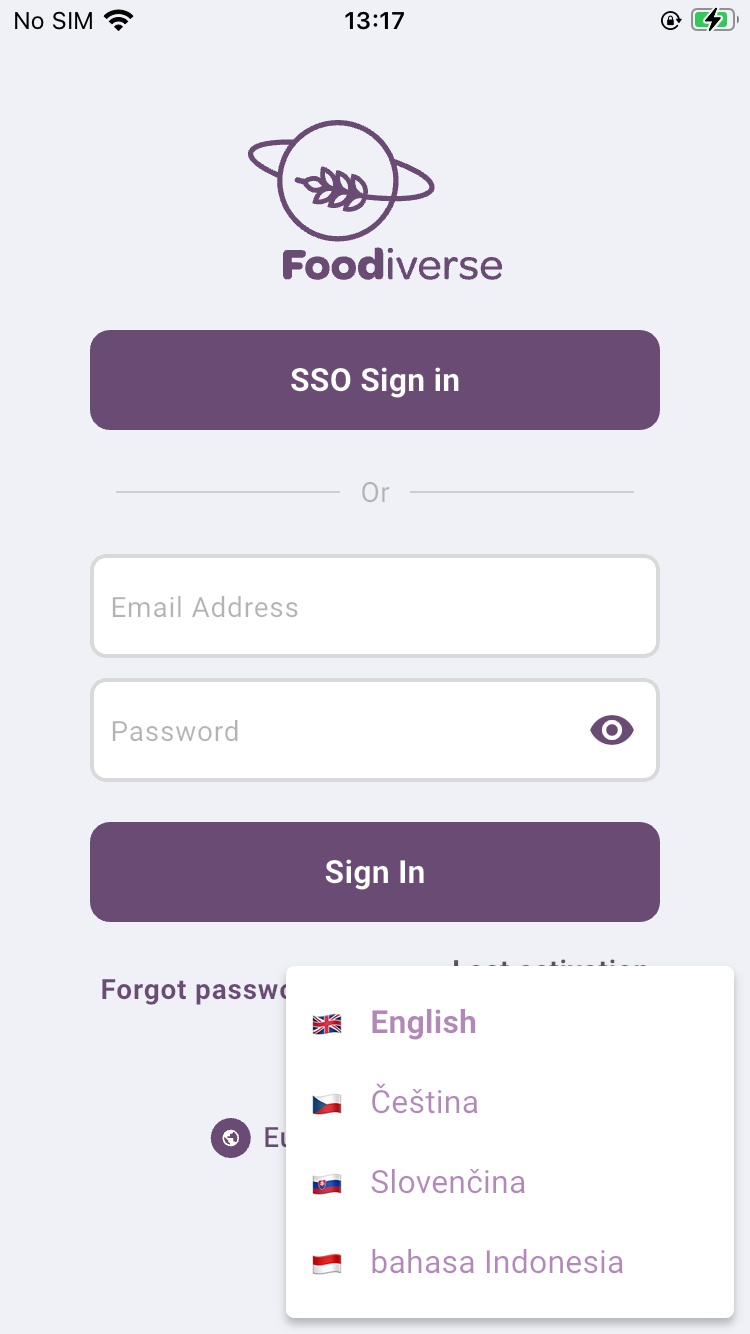
You can change language to one of the supported languages by clicking the language button at the bottom of the screen.
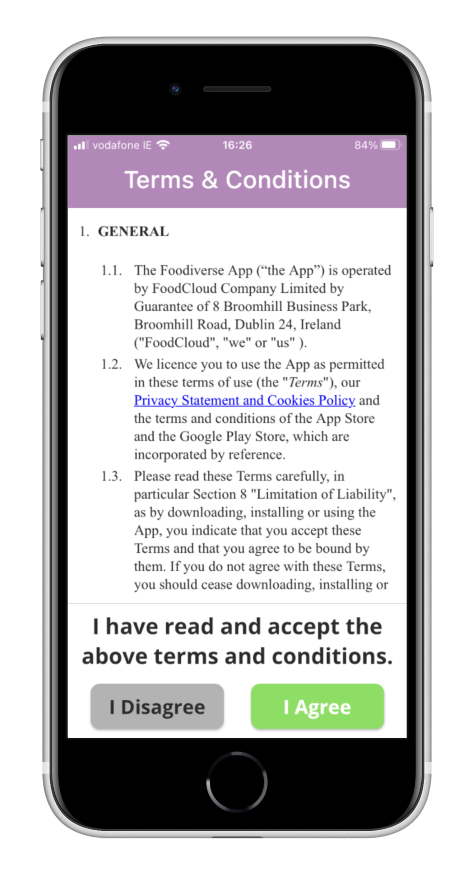
During the first sign in you will be prompted to accept the Terms and Conditions.
Please read the Terms and Conditions and select I Agree to use the app.
Foodiverse sends notifications to your phone when donations are available.
Please click Allow, to let Foodiverse send notifications to your phone (iOS devices only).
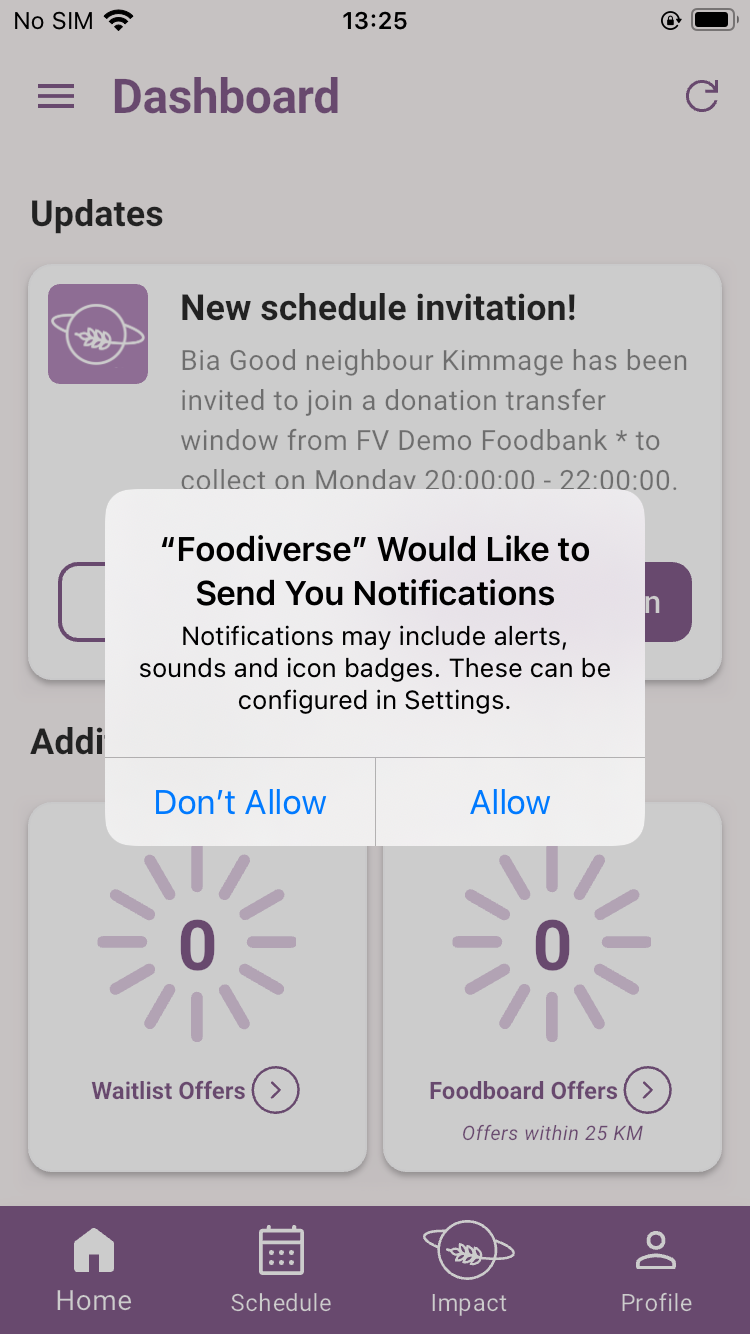
At this point in the login process the Foodiverse app contacts our notification provider who will send you all push notification alerts about donations etc. If there is any difficulty with contacting the provider, you will receive an error message
Examples of Push Notifications
These push notifications are sent to your device when you are logged in to the Foodiverse app but it is running in the background.
Notification to Primary or Waitlist charity that a donation is available from a donor on your schedule.
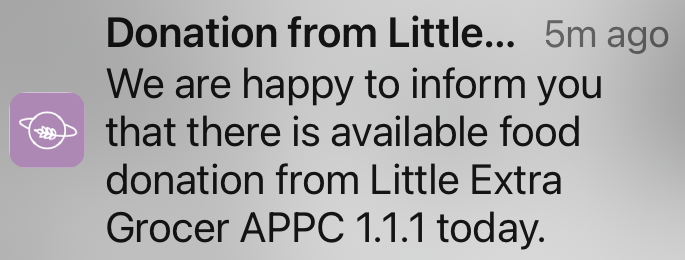
Click on the notification and you will be brought to the Live Donation screen to Accept/Reject the donation.

Notification to Primary charity that there is no donation from a donor on your schedule today.
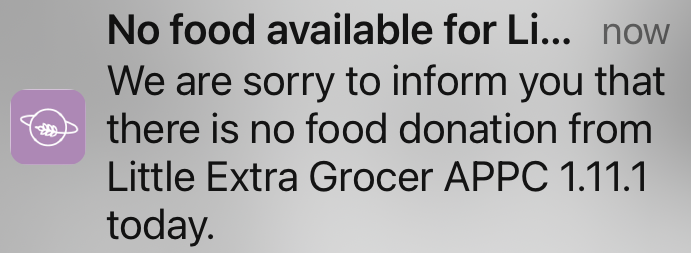
If you click on the notification you will be brought to the Recent Offers screen where the offer will be listed on a ‘No Donation’ card.

Notification to Primary charity that there is no suitable donation from a donor on your schedule today.
A donation is considered Unsuitable if it contains a food classification that your charity is not approved for. e.g. The donation contains Frozen food and your charity is only approved for Ambient food donations.
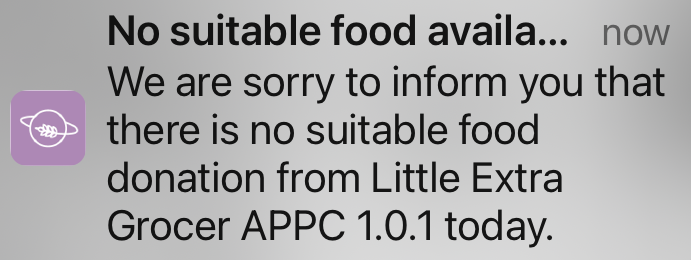
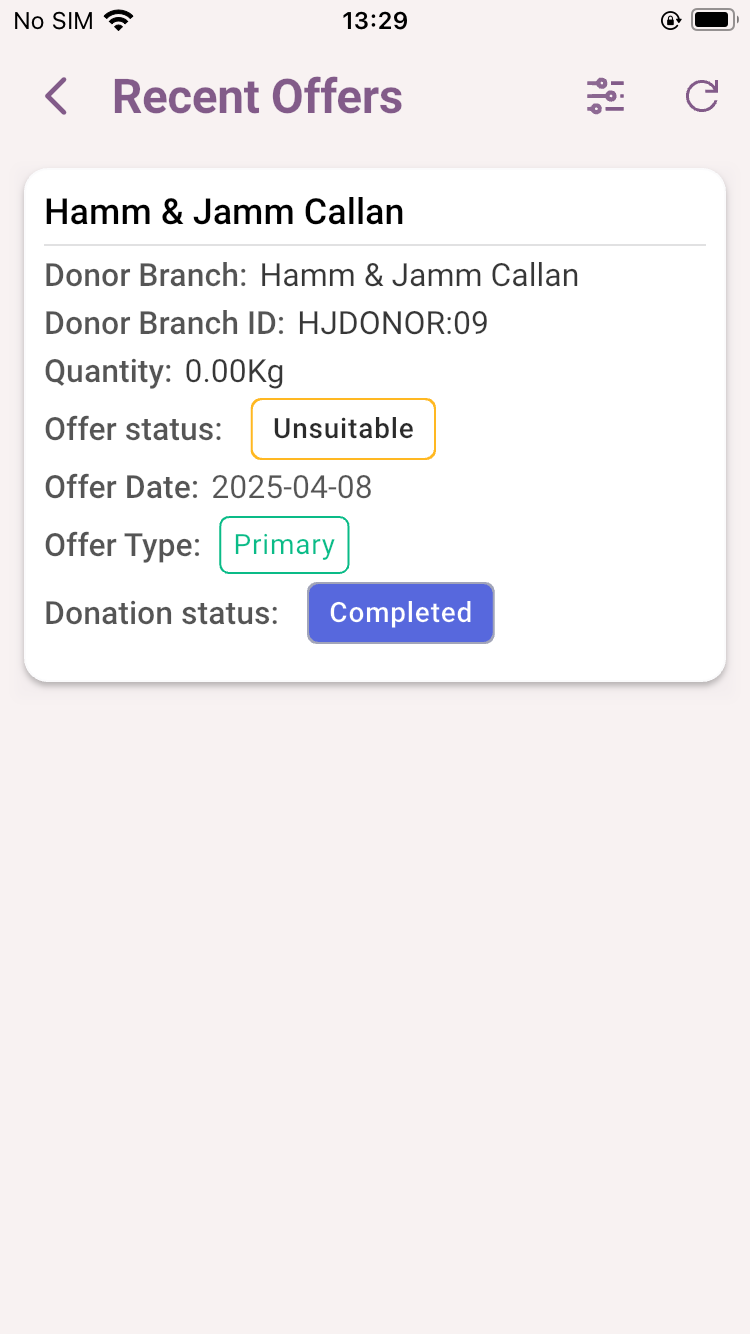
If you click on the notification you will be brought to the Recent Offers screen where the offer will be listed on an 'Unsuitable' card .
These notifications can pop up on your device if you have the Foodiverse app open and we need to send you an alert about a donation.
-
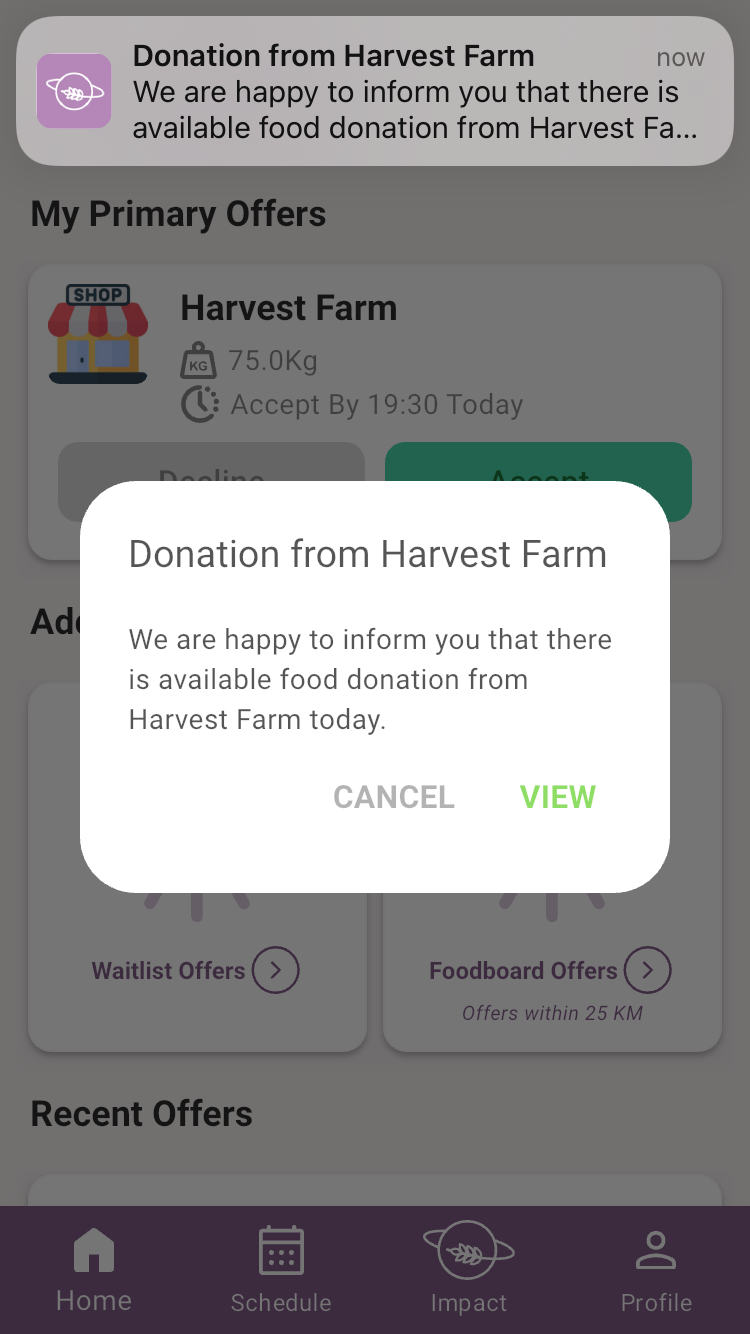
In-App Notification to Primary or Waitlist charity that a donation is available from a donor on your schedule.
Click View to Accept/Reject the donation.
-
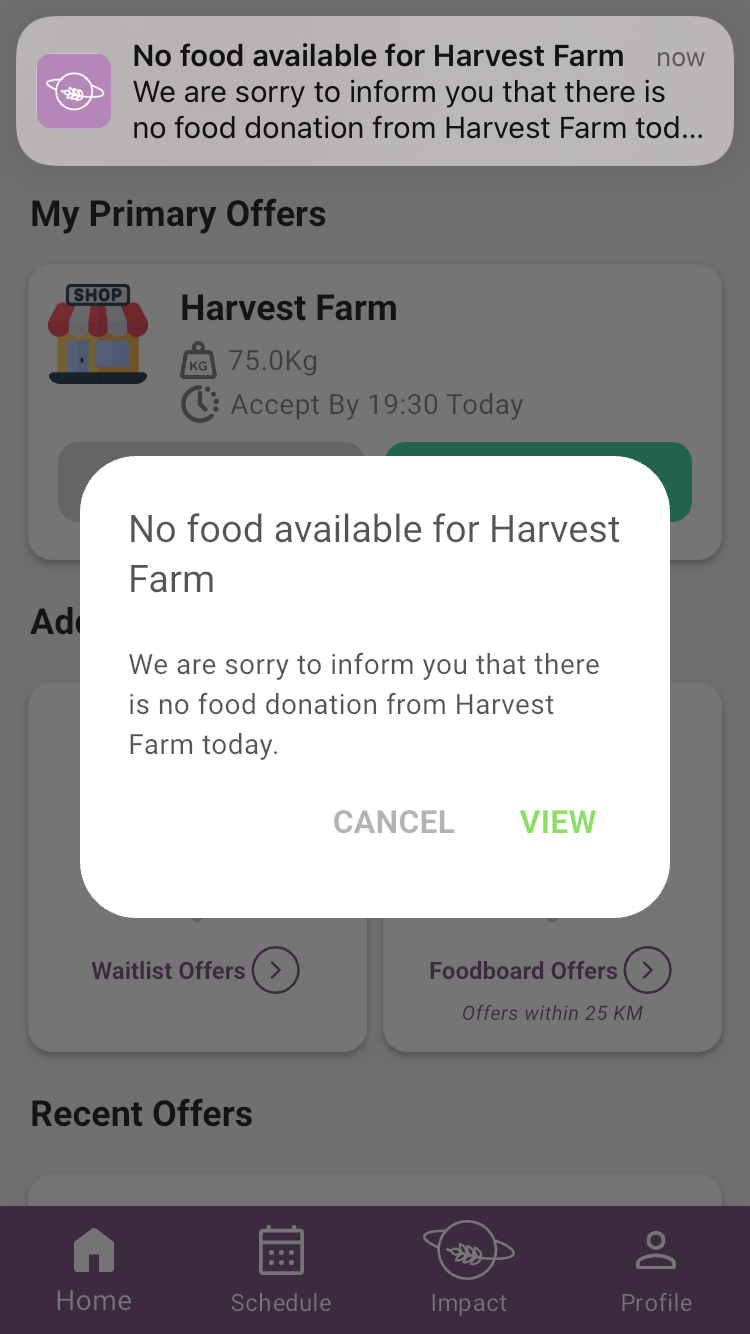
In-App Notification to Primary charity that there is no donation from a donor on your schedule today.
-
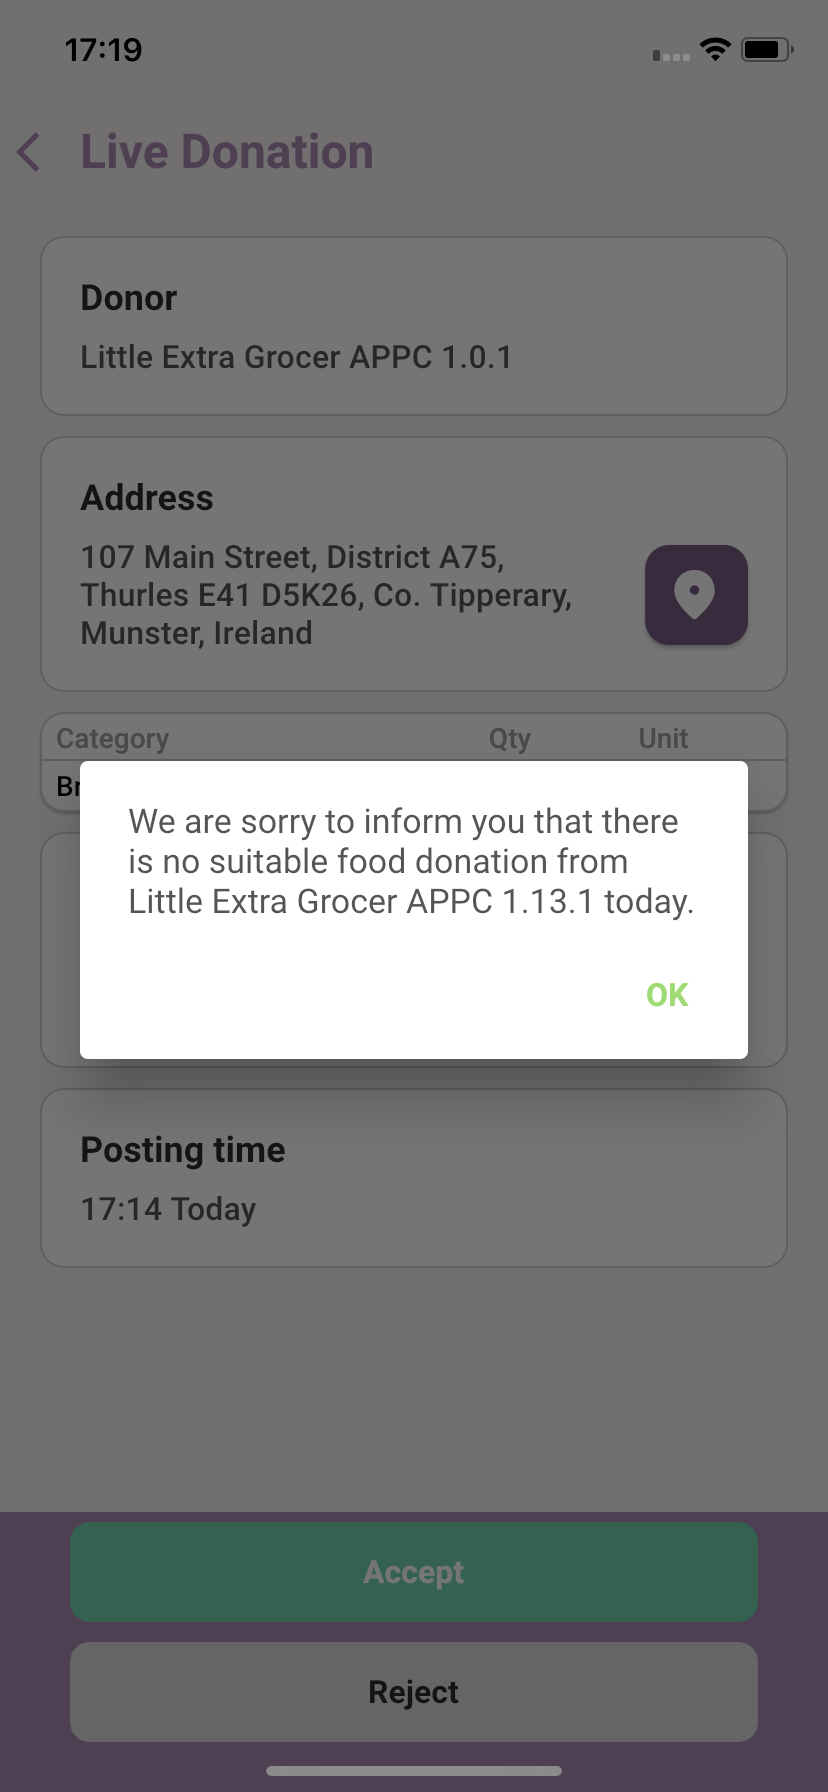
In-App Notification to Primary charity that there is no suitable donation from a donor on your schedule today.
Your Active Donations - Accepting/Rejecting a Donation
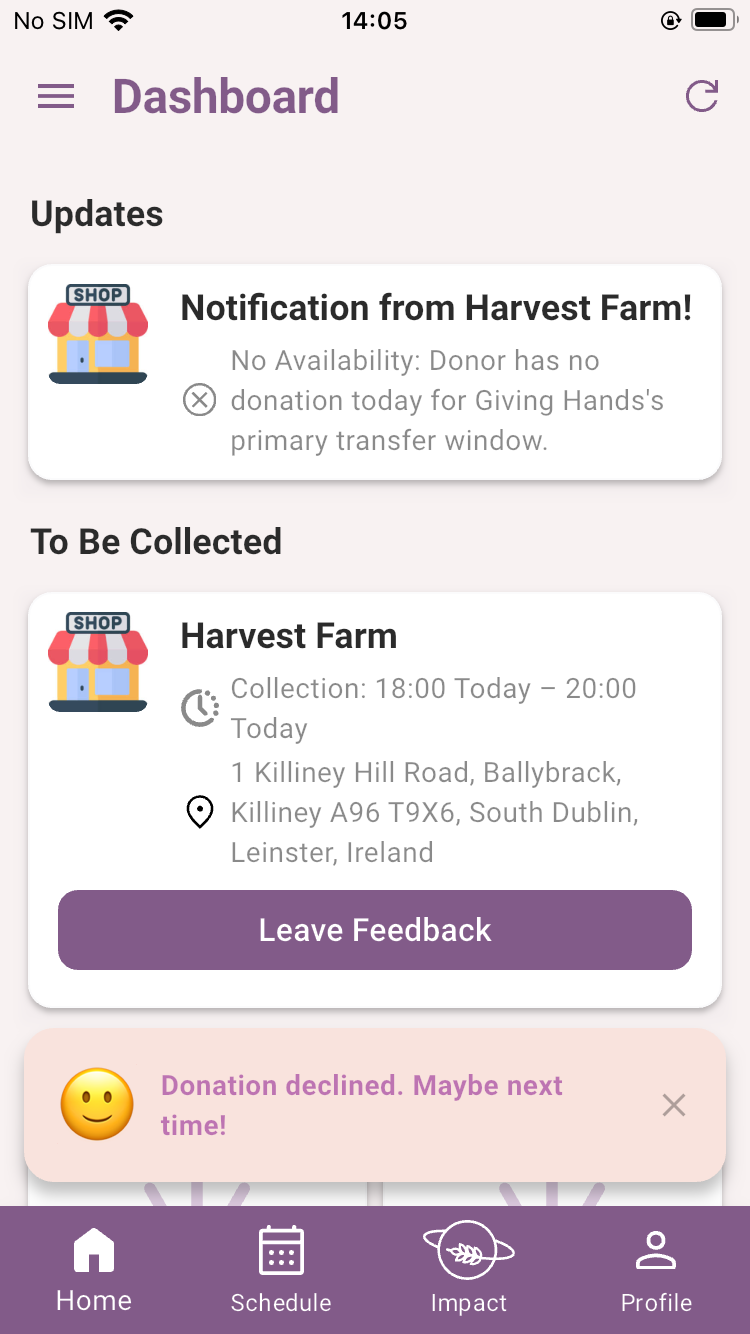
When you Login to the Foodiverse mobile app the Home Page is the Dashboard page (see below).
Donations/Offers to the user’s primary charity will be listed under the “My Primary Offers” section.
Accepted donations will be listed under ‘To Be Collected’.
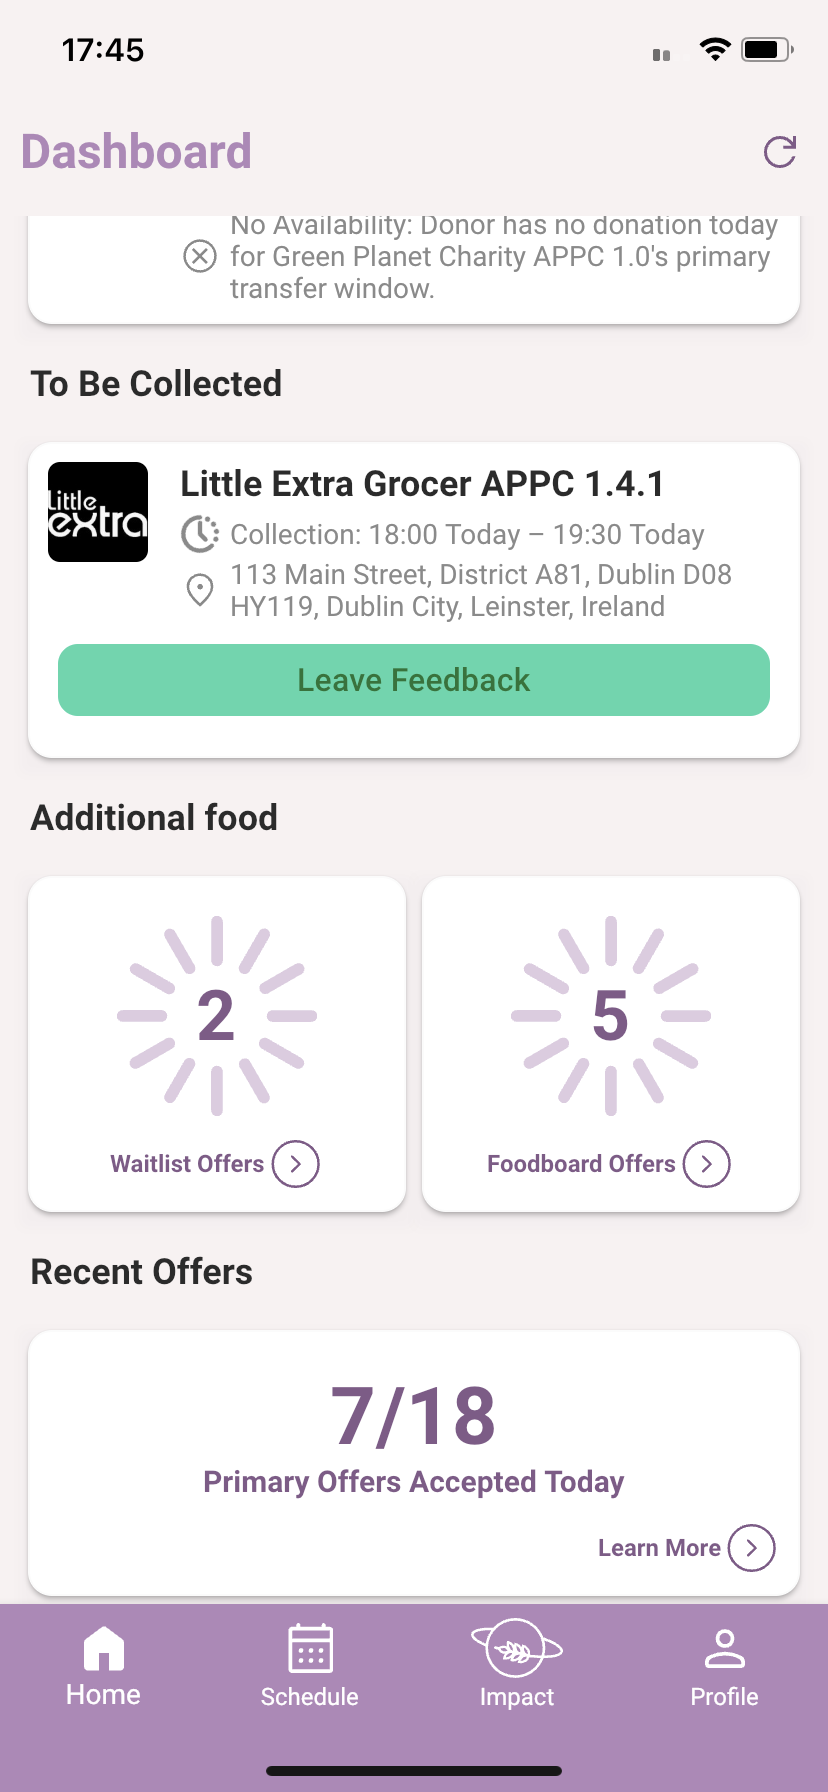
Additional food will list other donations available to you.
Waitlist Offers lists the offers from donors that you are on their schedule as Waitlist.
FoodBoard Offers are available to charities registered on Foodiverse and are members of a Foodnet.
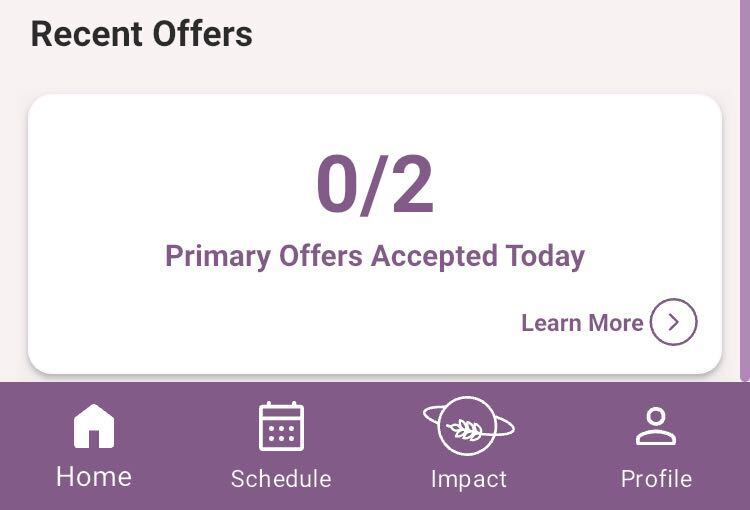
Recent Offer lists all of your previous donation offers. Click ‘Learn More >' to go to the Recent Offers page.
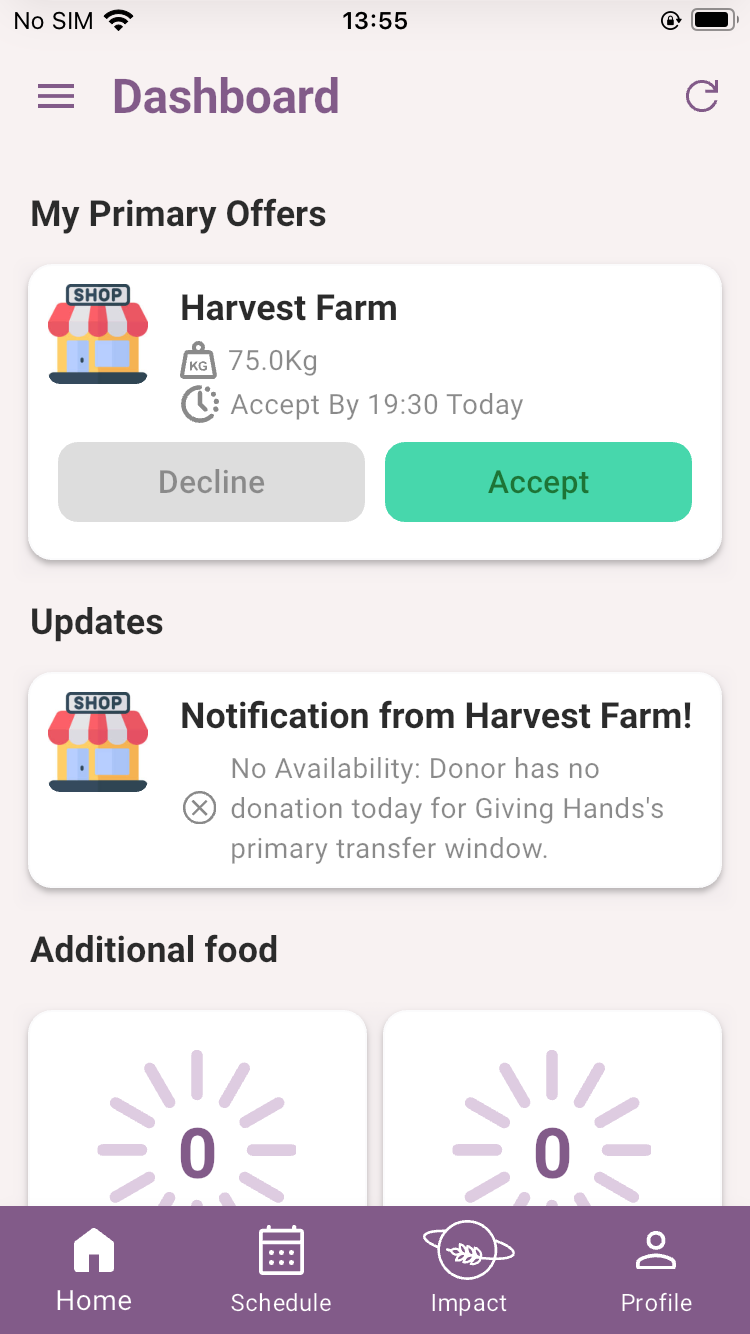
Your available donation will have an Accept and a Decline button.
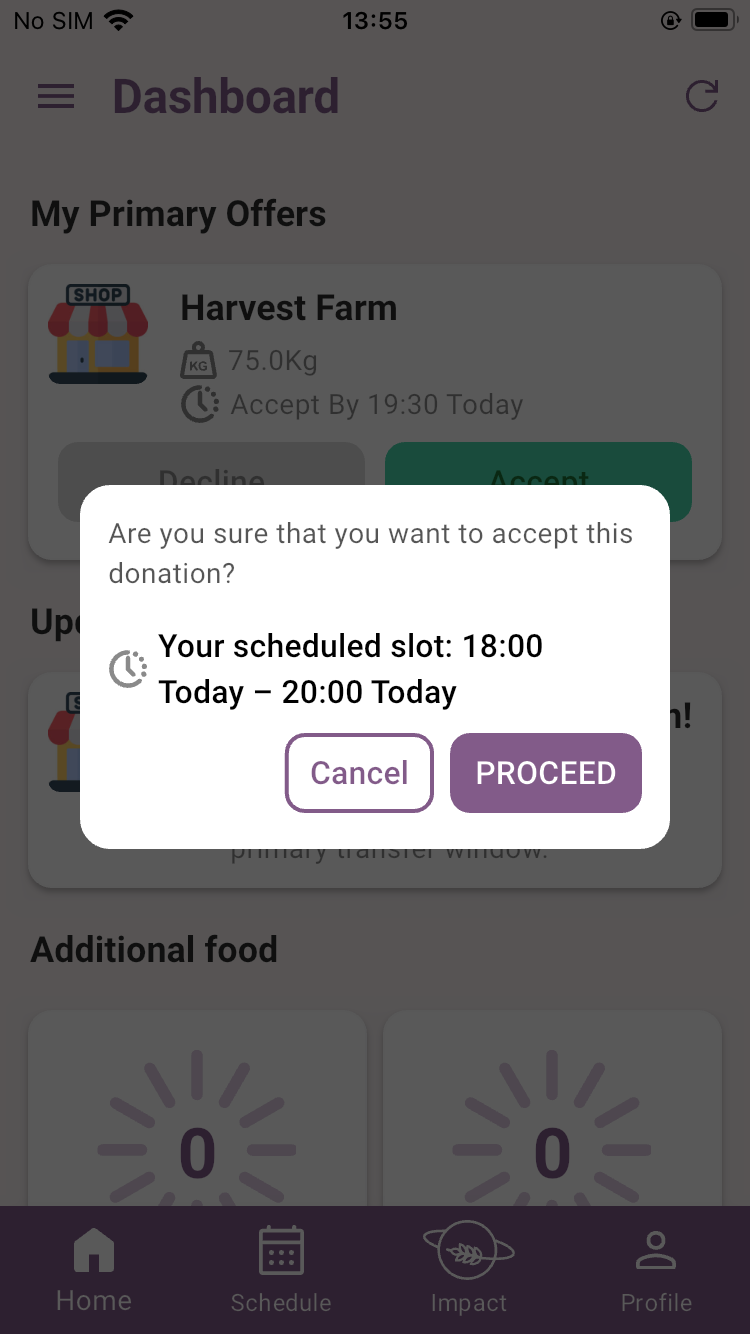
If you click Accept you will be prompted with a schedule slot drop down menu. Your scheduled slot is chosen by default for you.
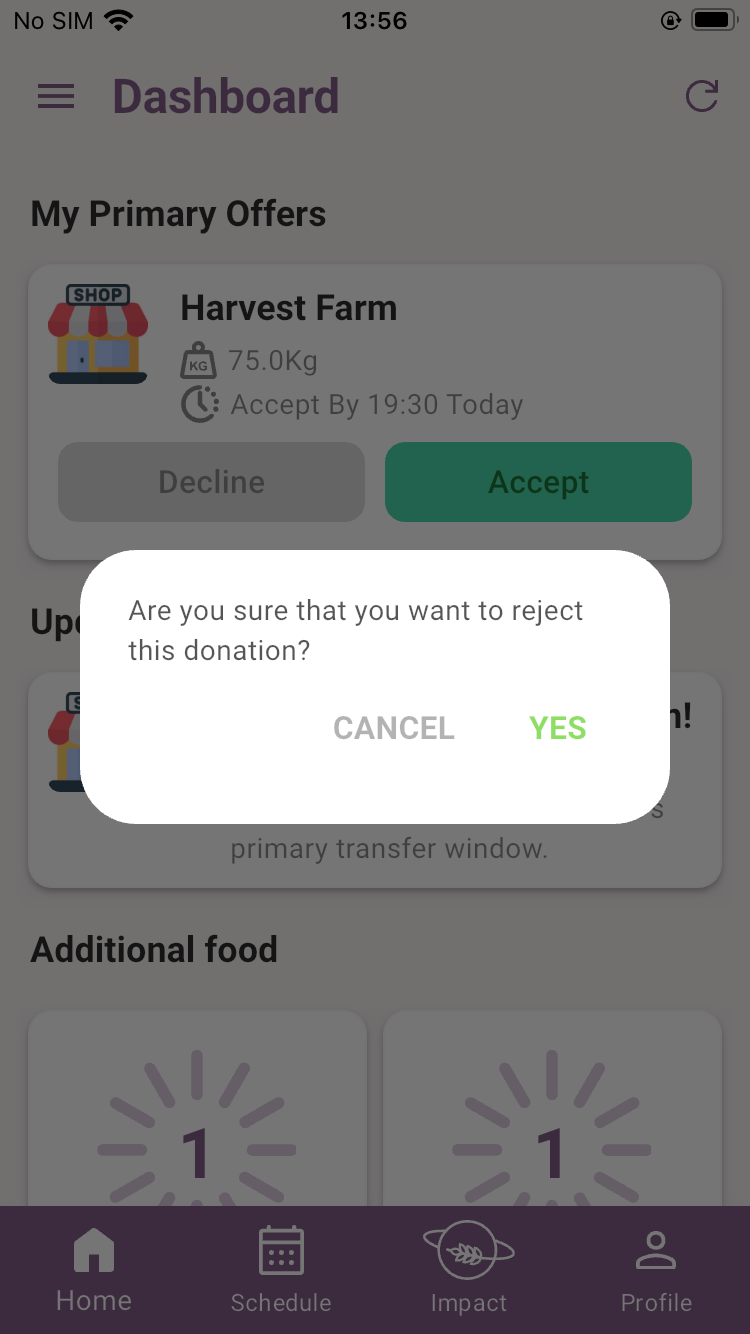
Alternatively, if you click Decline you will be prompted to confirm with a Yes or use the Cancel to go back.
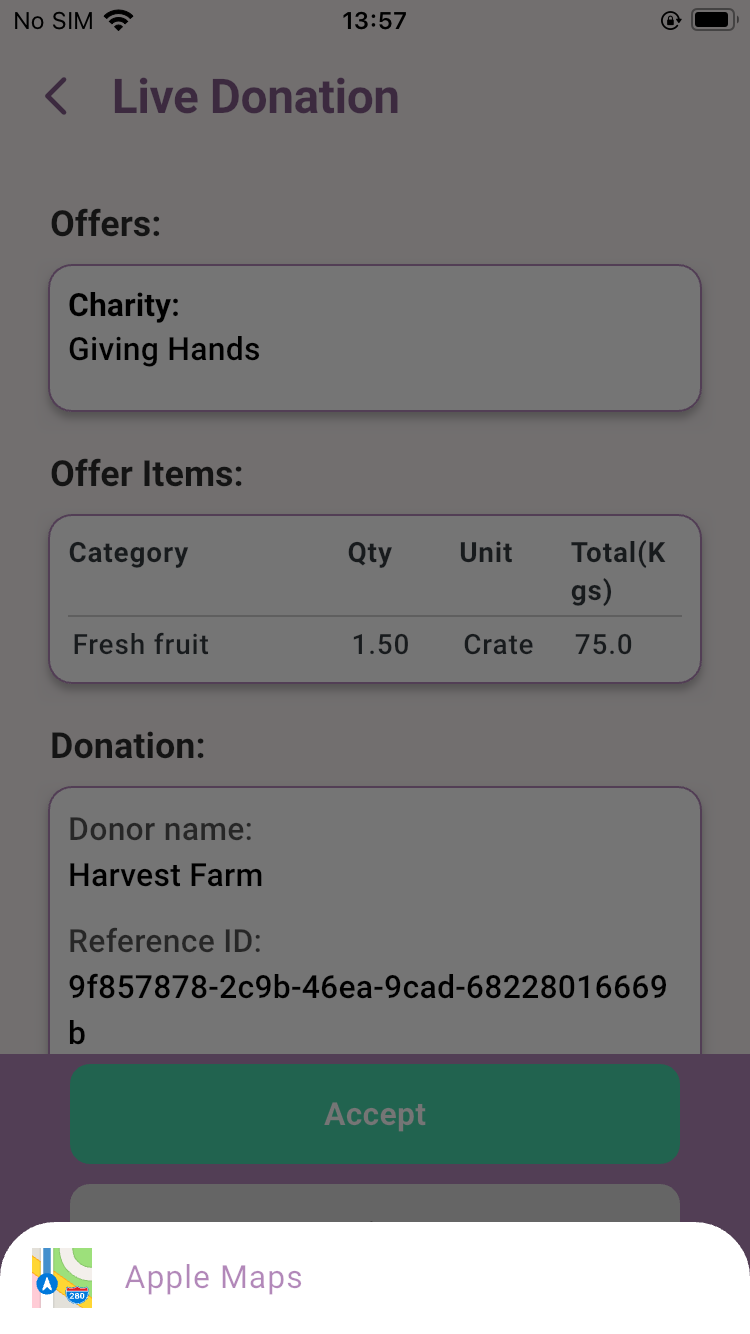
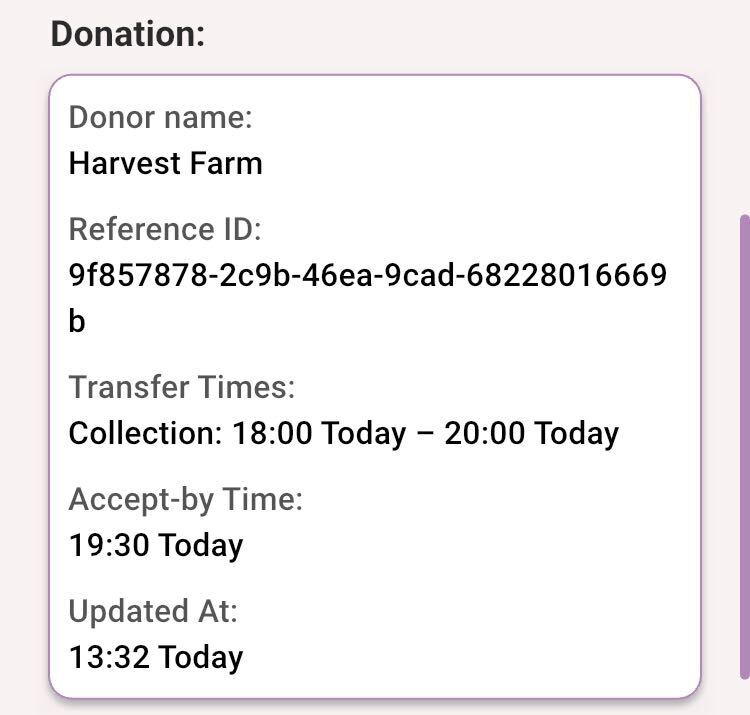
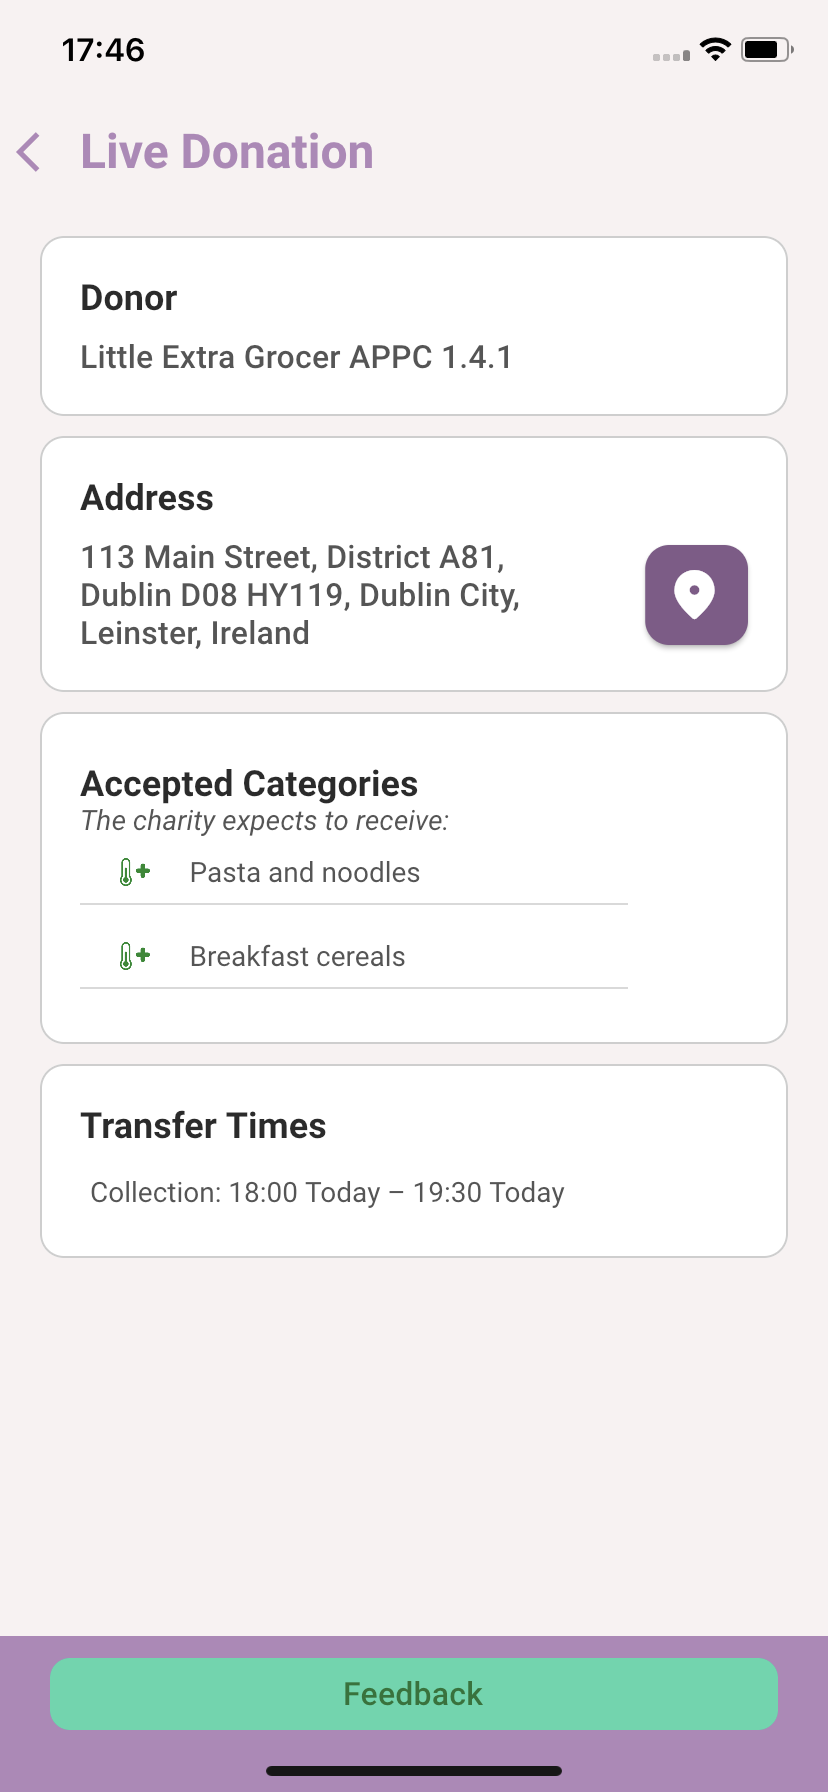
If you click the donation card, you can see more information about the donation. From this page you can also Accept or Reject.
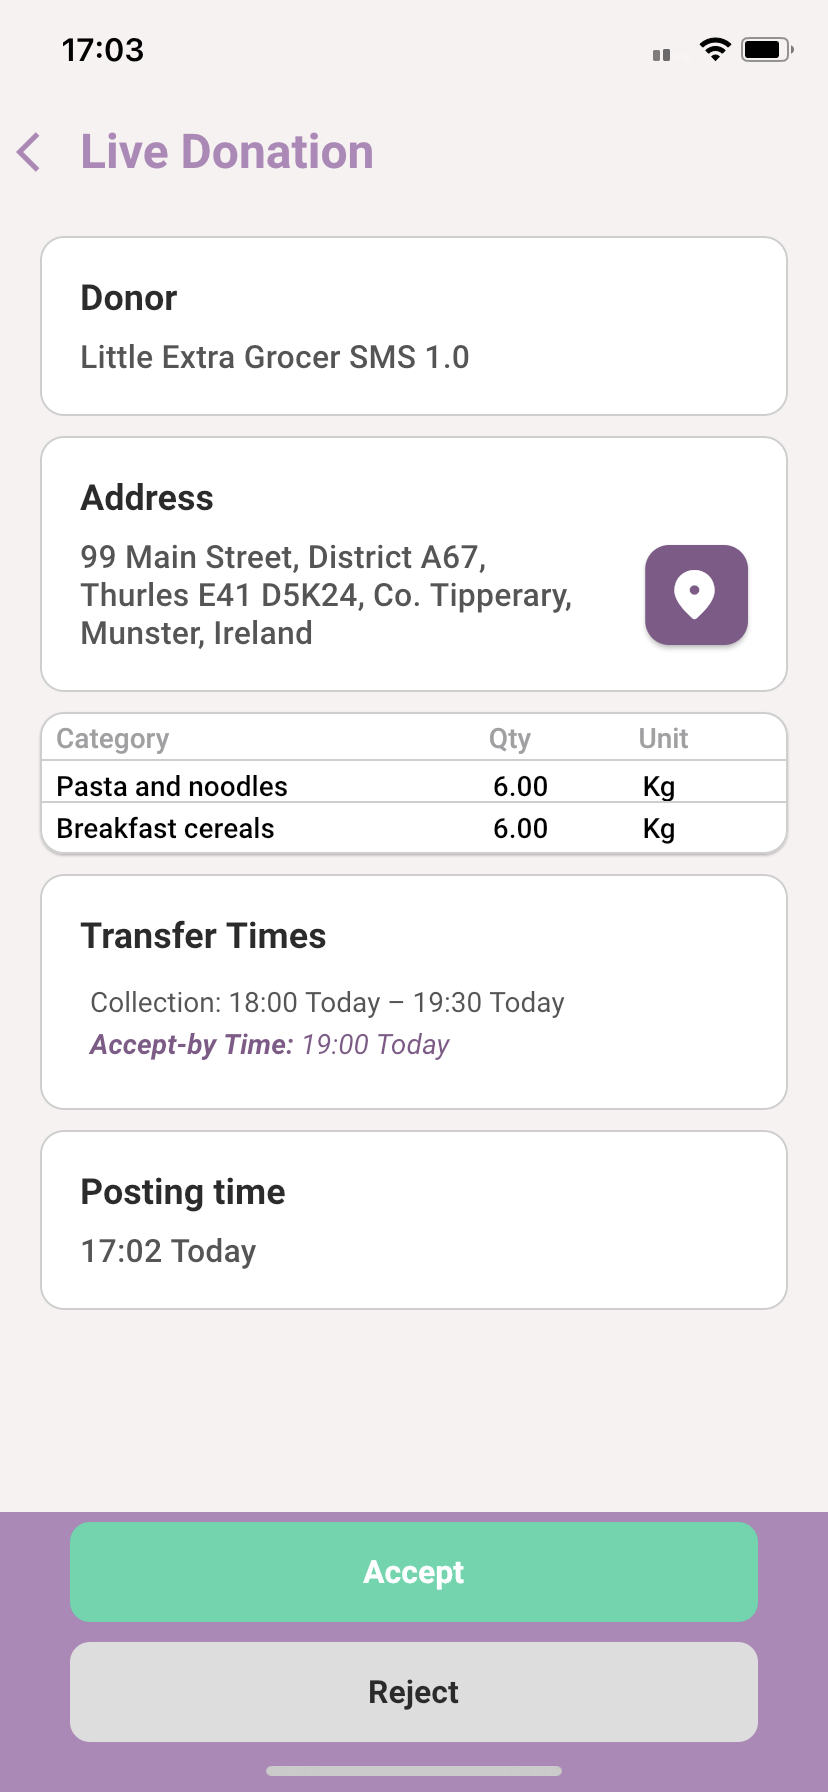
Click the Map pin/icon beside the address to show you the location of the donor branch on your preferred Maps application.
Foodiverse will list the Maps applications you have installed on your Smartphone. Pick your preferred Maps application.
The Maps application will open and it will display the location of the donor branch
The Accept By Time on a donation is the date/time by which a donation must be accepted. It is normally set at 30 minutes before the end of the Transfer Time. Typically this allows charities time to Accept and Collect a food offer before the store closes.
Foodiverse will display a confirmation of Acceptance when you select Yes.
‘Donation Accepted Successfully!’ snackbar at the base of the screen.
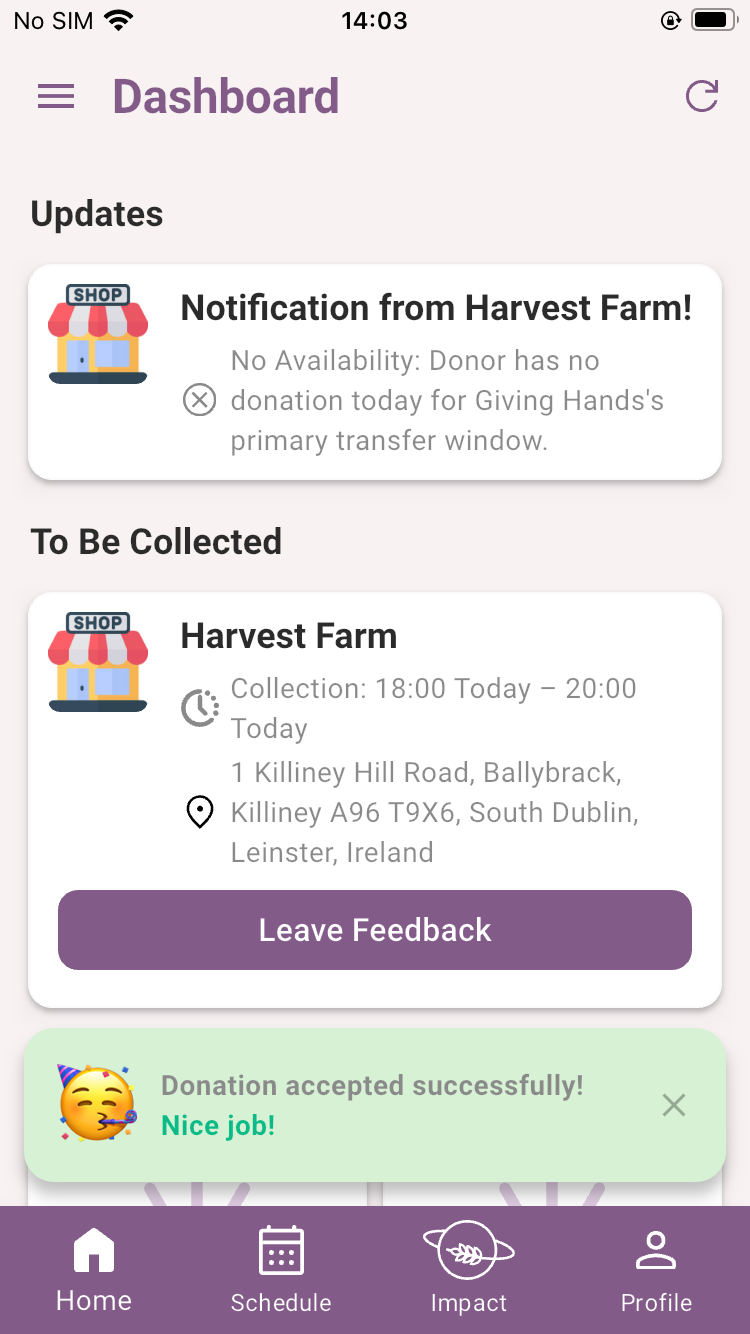
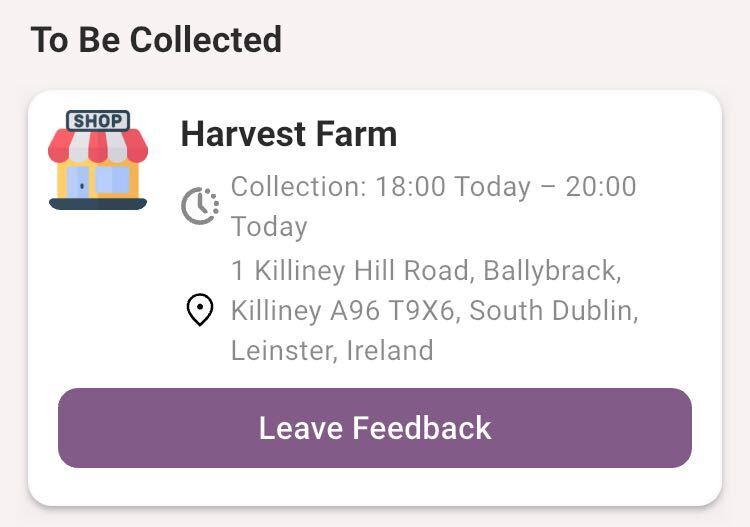
The Dashboard will display the ‘To Be Collected’ heading with the accepted donation. The donation card will disappear once the donor has marked the donation as transferred or not transferred.
Your accepted donation in the ‘Recent Offers’ is at the top of the list.
The Leave Feedback button is only necessary if there is a problem with the donations.
If the Accept By Time has passed you will not be able to accept the donation.
Click Reject, to decline the donation. Once again you will be prompted to confirm if you want to reject the donation. The application will give you a Donation declined message at the bottom of your screen.
‘Donation declined. Maybe next time!’ snackbar at the base of the screen.
The donation will pass on to any charities on the Waitlist or the Foodboard.
You can click to Refresh (top right) your dashboard to see any new notifications or reminders that might have just been posted to Foodiverse.
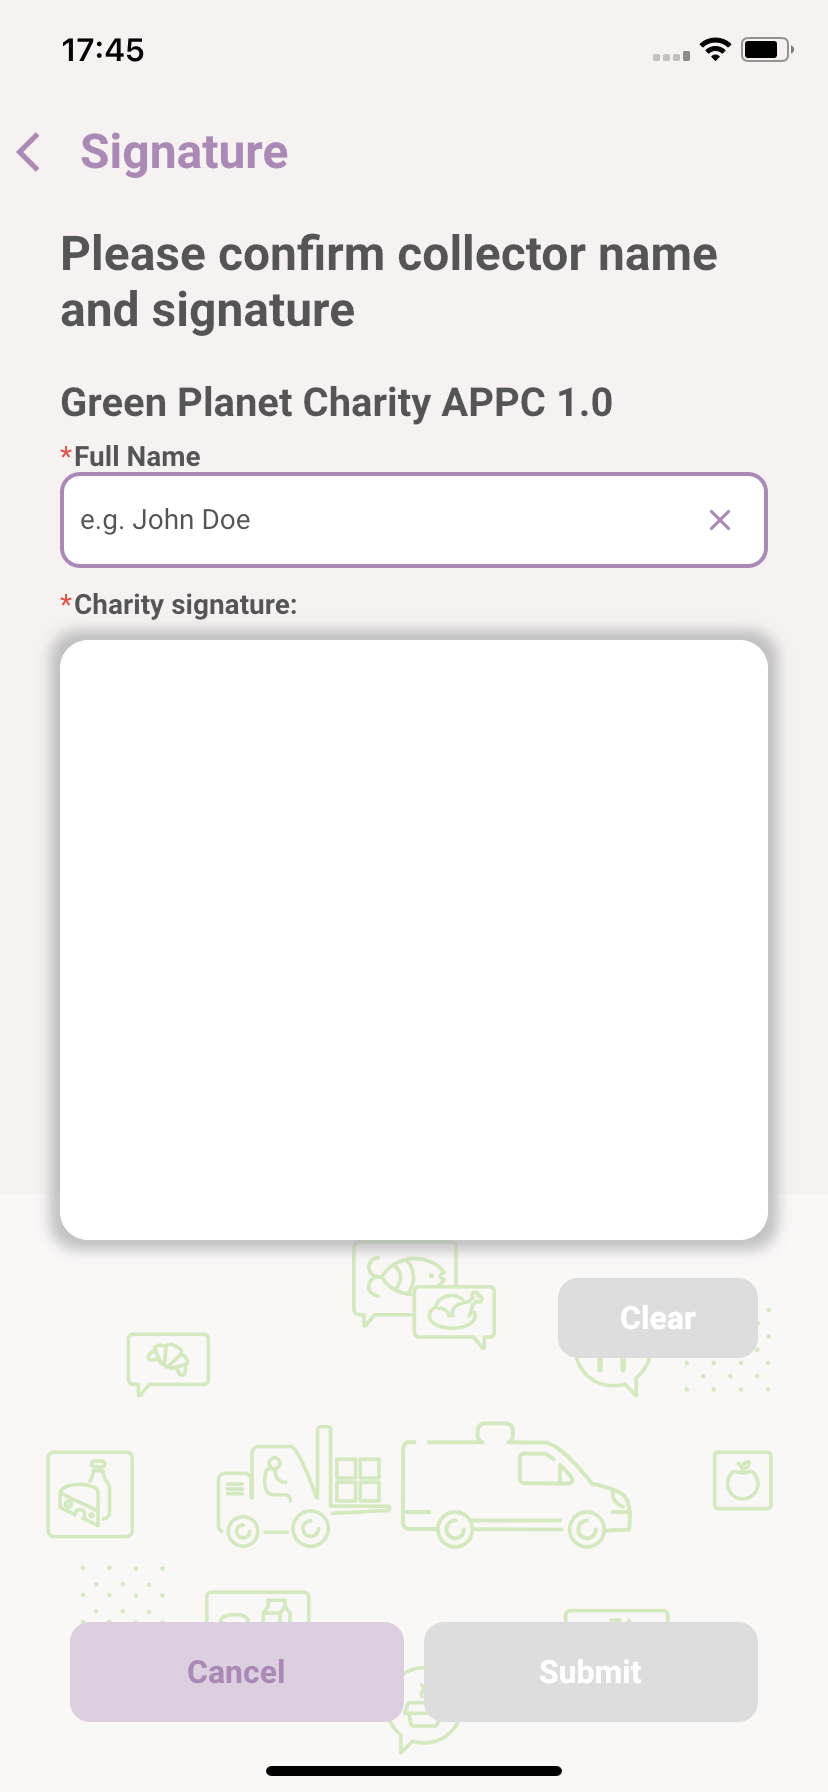
eSign
eSign is a feature that will allow donors and charities to confirm with an electronic signature that food has been donated. The feature can be switched on by Donors on a per Branch level. If the Donor has eSign switched On they will ask you to sign their Foodiverse device when you arrive at the store to collect the donation.
If eSign is enabled by the donor branch you will be asked to sign for your donation when you visit the branch.
Completing a donation
The donation has now been Accepted. The donation appears in the list of donations on the charity’s dashboard in the section To Be Collected. If the charity had any difficulty collecting the donation please indicate a reason why.
Click the donation card to see more details. Once the donor marks the donation as transferred the donation card will disappear.
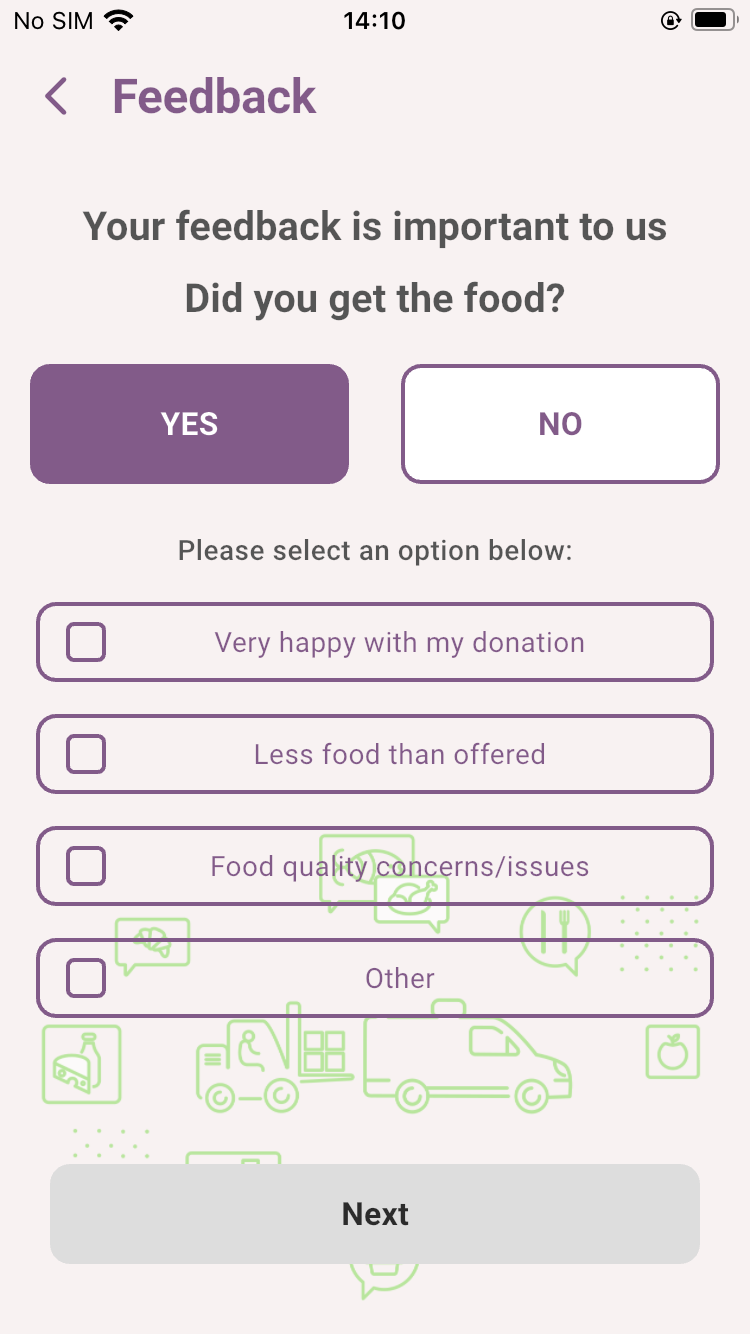
Leave Feedback is encouraged as it can improve everyone’s overall experience
The feedback feature will allow you to be specific in your feedback, also allowing for user input and a star rating to further assist your network admins
If you click ‘yes’ your options will be -
If you click ‘no’ your options will be -
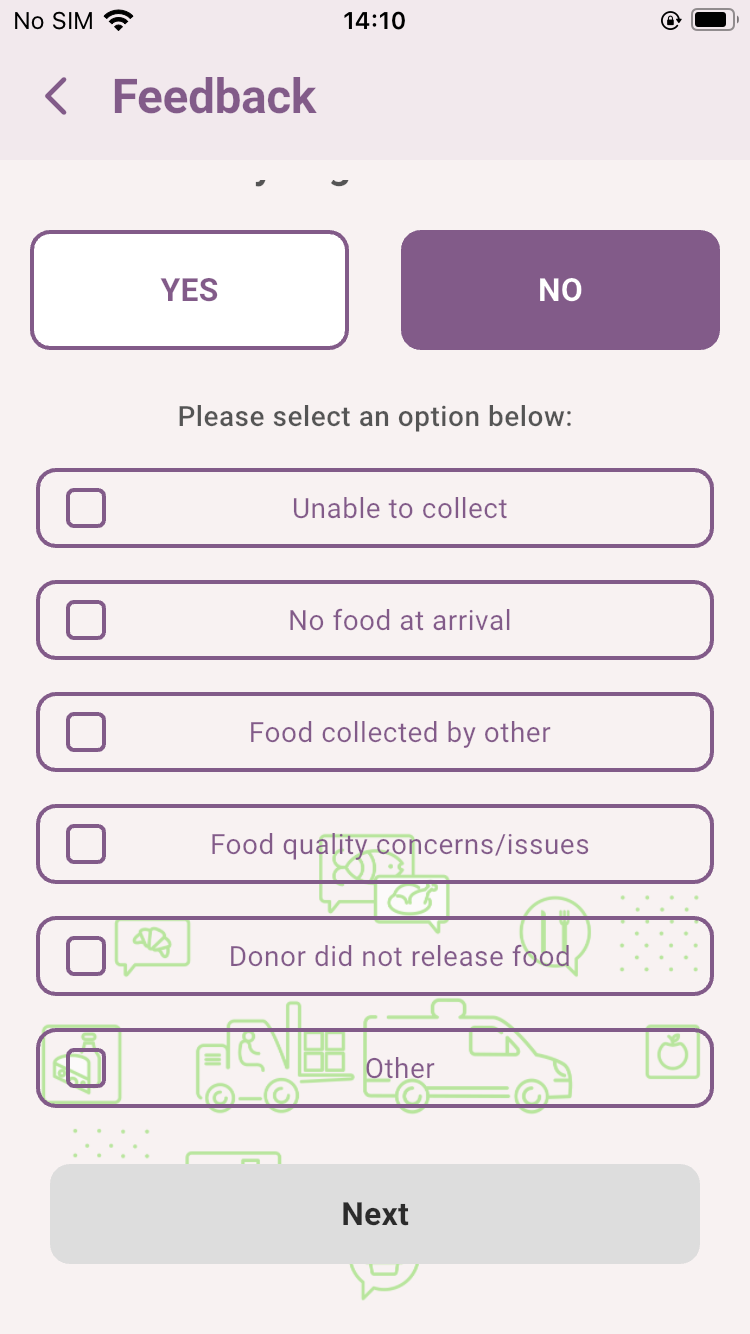
Choosing no will mark the donation as ‘not collected’ or another respective donation status, depending on the sub-category chosen
Then click ‘next’, you’ll be taken to this page
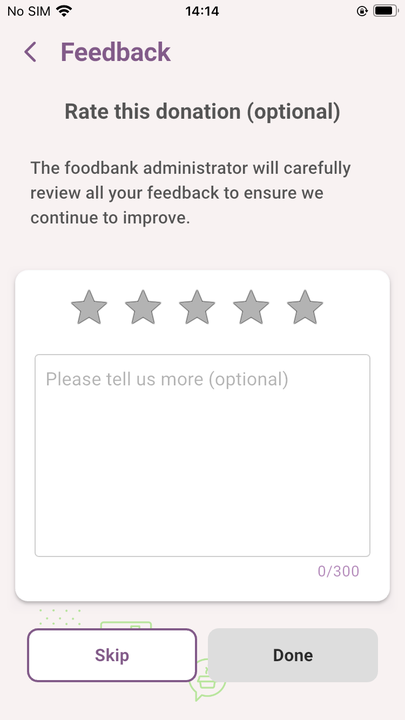
You can give a star rating and optionally add in any notes you may have
View Recent Offers
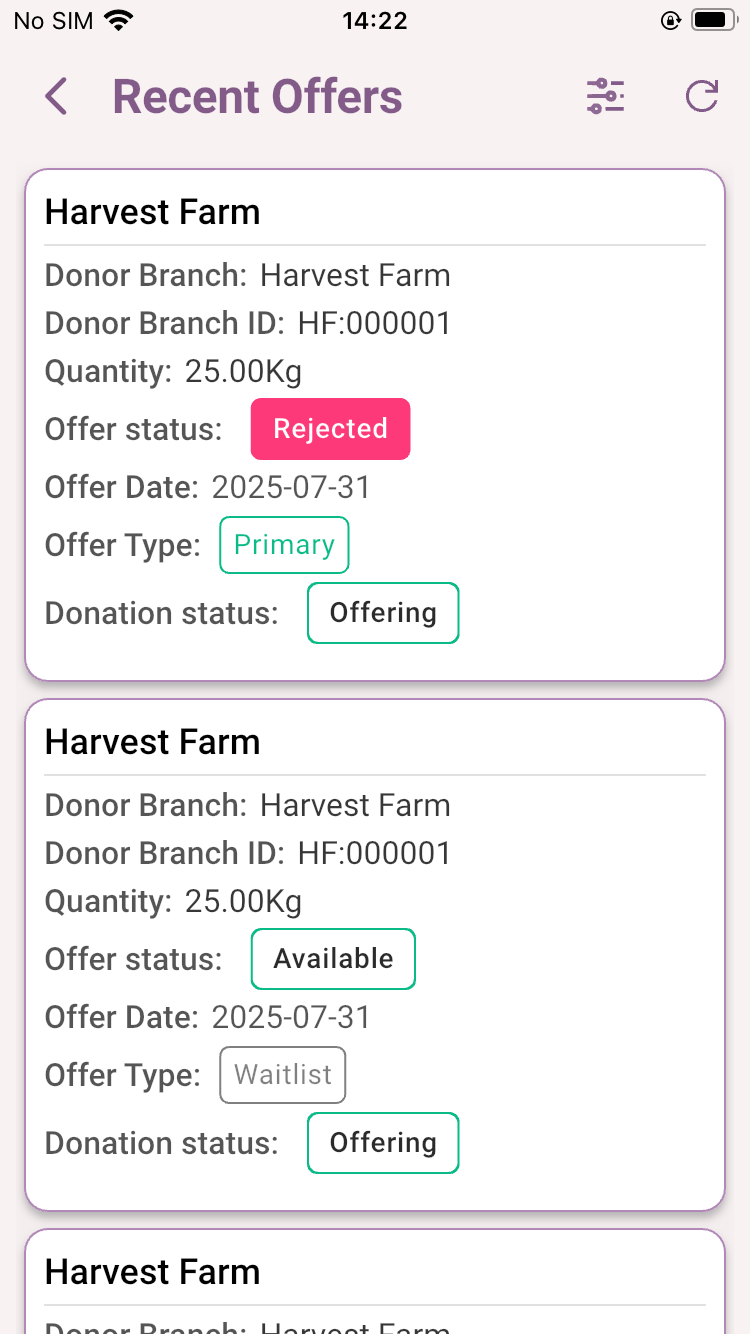
To view the Recent Offers page, tap the card to view a list of previous offers.
Click a Collected donation card to view more detail.
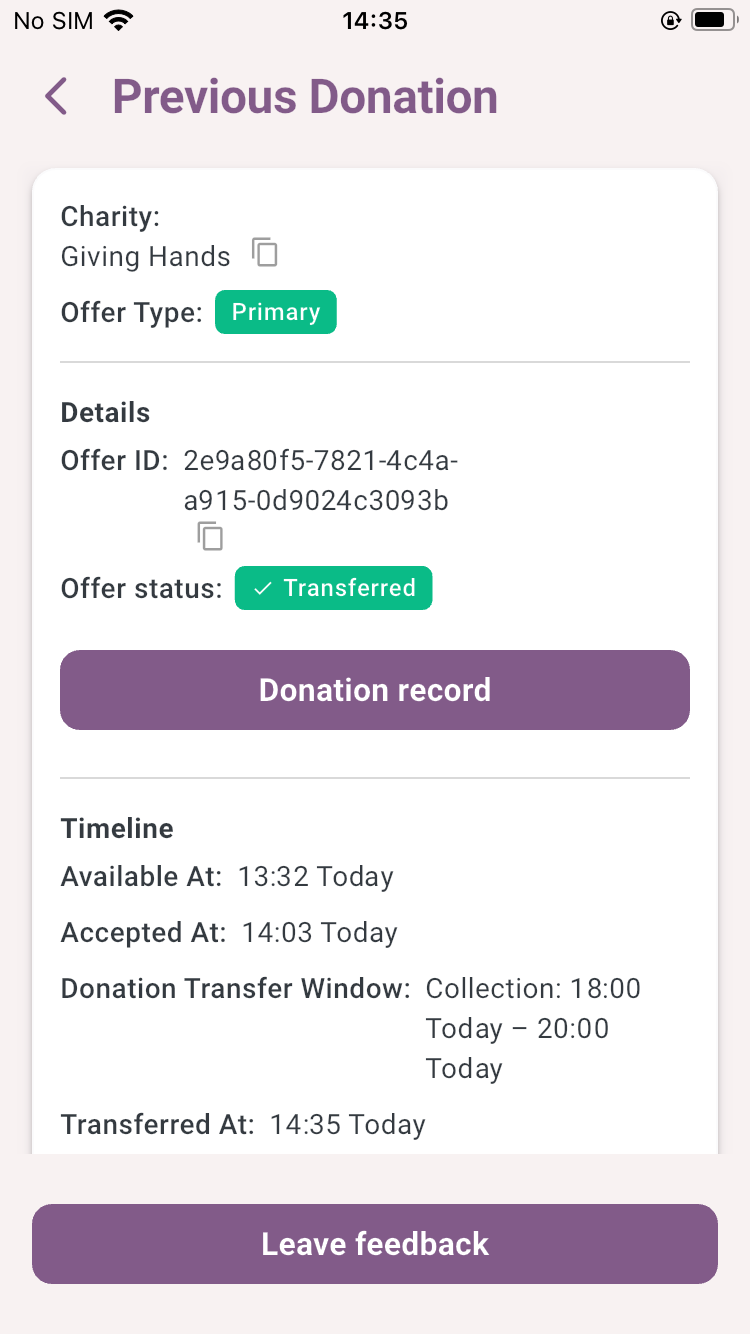
When you select an offer to View in more details please note that the Header on this screen indicates that you are viewing a Previous Donation.
No Availability or Unsuitable offers have no further details to view.
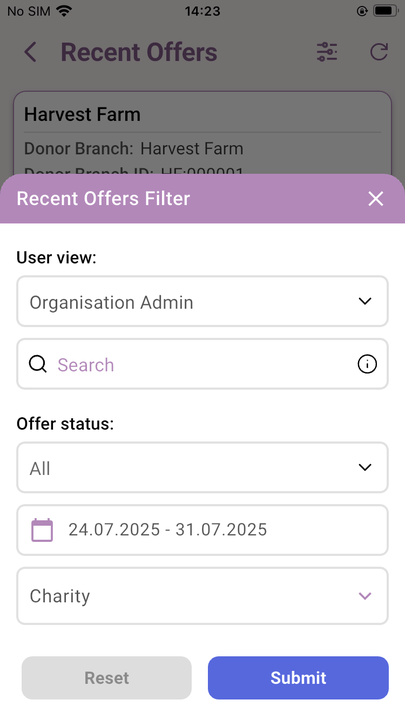
Foodiverse will display the last 7 days by default. If you want to view more offers use the Date Filter to select the ‘From’ and ‘To’ Date Range.
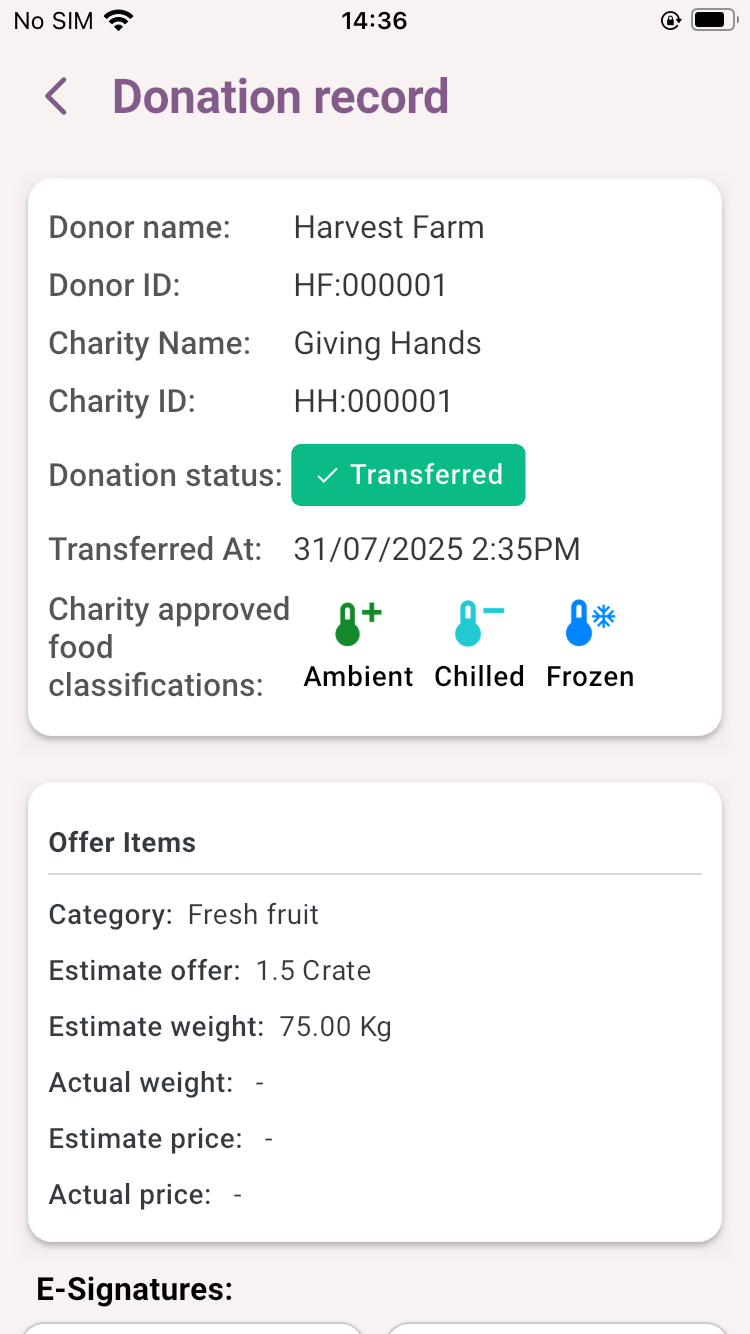
Donation Record
A donation that has a Status of Collected may have been Transferred or Not Transferred and will have a Donation Record button displayed. Click the Donation Record button to view more details of a donation including eSignatures (if available), a Category Level Summary and a Food Safety statement.
Click on the Donation Record button to see more details about this donation. The Donation Record lists the Donor and Charity information including the Donation Status with Timestamp, the charity approved food categories and any eSignatures if eSign is configured for this donor.
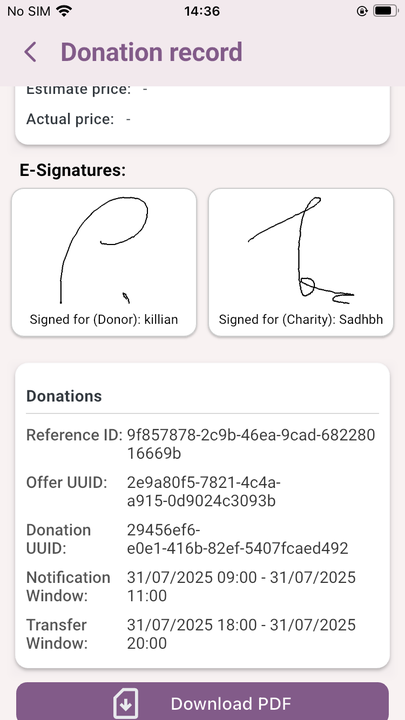
Scroll down to reveal the rest of the Donation Record which list the Category Level Summary, additional information and any Food Safety statement posted by the donor.
If the donor has provided a confirmed volume of the food products received by the charity then the Actual weight and price will be displayed in the Category level summary.
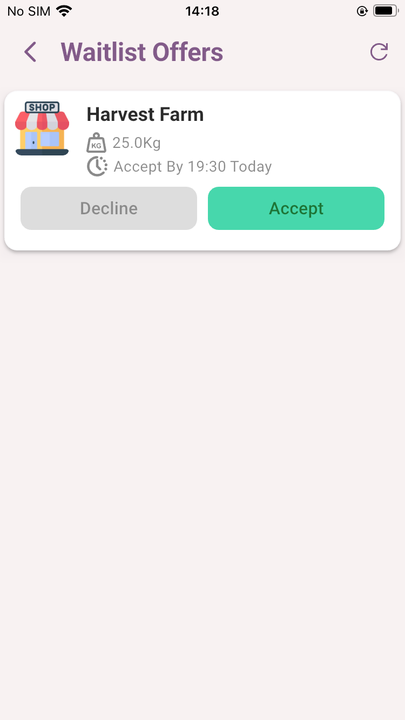
View Waitlist
The Foodiverse Home Screen also lists donations where your charity is on the Waitlist for a scheduled slot with a retailer store. Click Waitlist Offers card to view your Waitlist donations. (To learn more about what a Waitlist donation is, click here).

On this screen, you can view the detail of the donation. This includes the weight of the donation, listed beside the Food Classification icons (e.g. Ambient, Chilled, Frozen and Hot).
To Accept the donation click the Accept button.
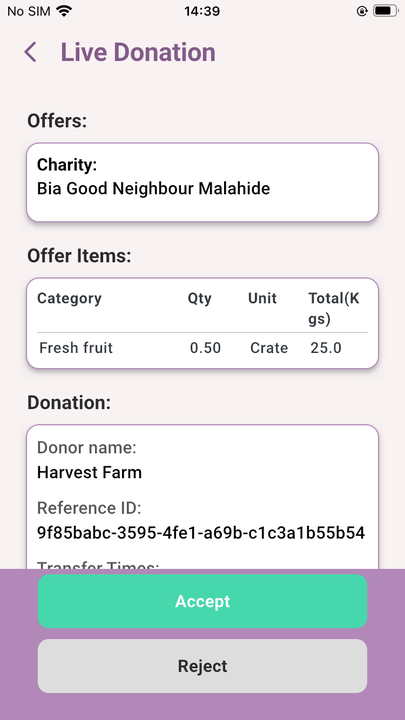
Click the card to view the live donation, this version is far more detailed.
You can Accept or Reject the donation as normal from here.
View Foodboard Offers
The Foodiverse Home Page also lists donations that are available on the Foodboard.
The Foodboard Offers card will display the total number of offers on the Foodboard.
Click the Foodboard Offers card to view offers on the Foodboard. (To learn more about what a Network Foodboard donation is, click here).
The Foodiverse app will list offers in your locality, based on your chosen distance range.
The default range is 25km.
Click the pencil or the configuration button in the top right of the screen to change the search parameters.
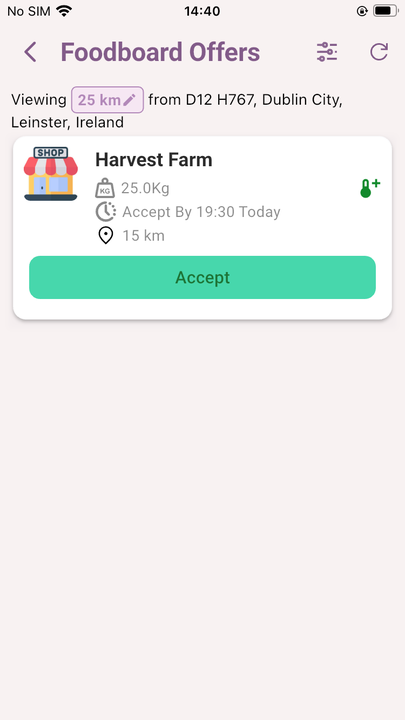
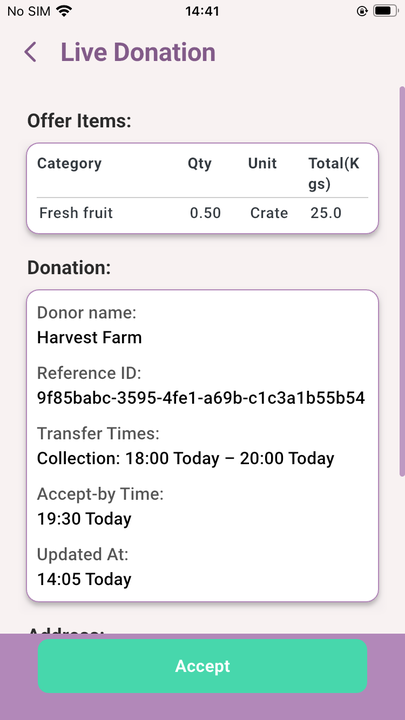
Click the Accept button to accept a Foodboard donation. (You cannot Reject a Foodboard donation).
(Note: if you do not want to Accept the donation click the < arrow to the left of the Live Donation header to go back).
View Charity Schedule
Click the Schedule button at the bottom of the screen to view the Charity Schedule. Foodiverse schedule is displayed by day of the week, and by Primary (green) & Waitlist (yellow)
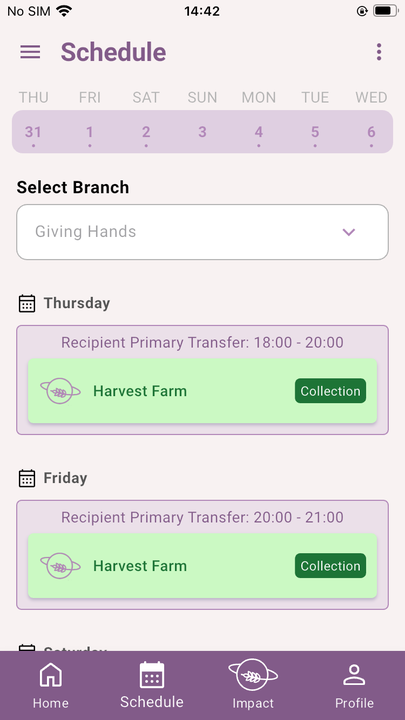
Click on the Days of the week to see individual or multiple days of your schedule.
|
1 Day
|
|
|
Multiple Days |
|
|
7 Days (default) |
|
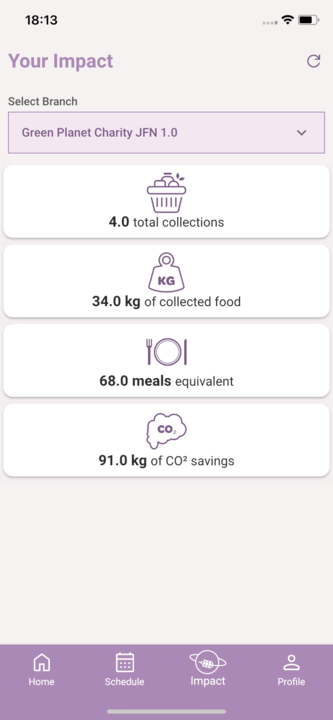
View Charity Impact
Click the Impact button at the bottom of the screen to view your Total Collections, the Volume of Food that your charity has collected, estimated Meals equivalent and the volume of CO2 your charity has saved as a result of the food the charity has collected and prevented from going to food waste. (This data is based on the original inputs sent by the donor).
View Charity Profile
Click the Profile button at the bottom right of the screen to view your Charity Profile.
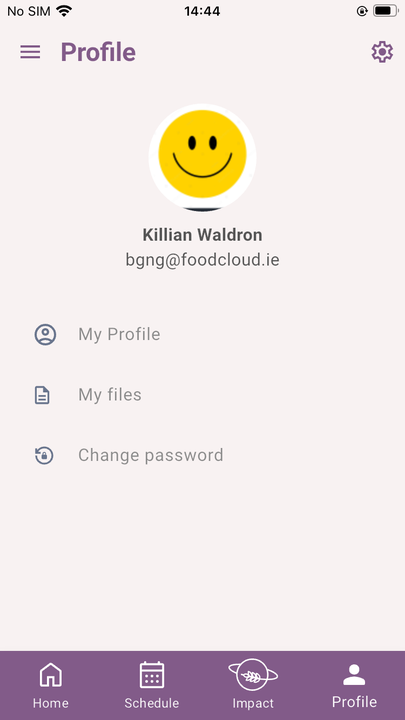
Then click ‘My Profile’, the page below will be displayed.
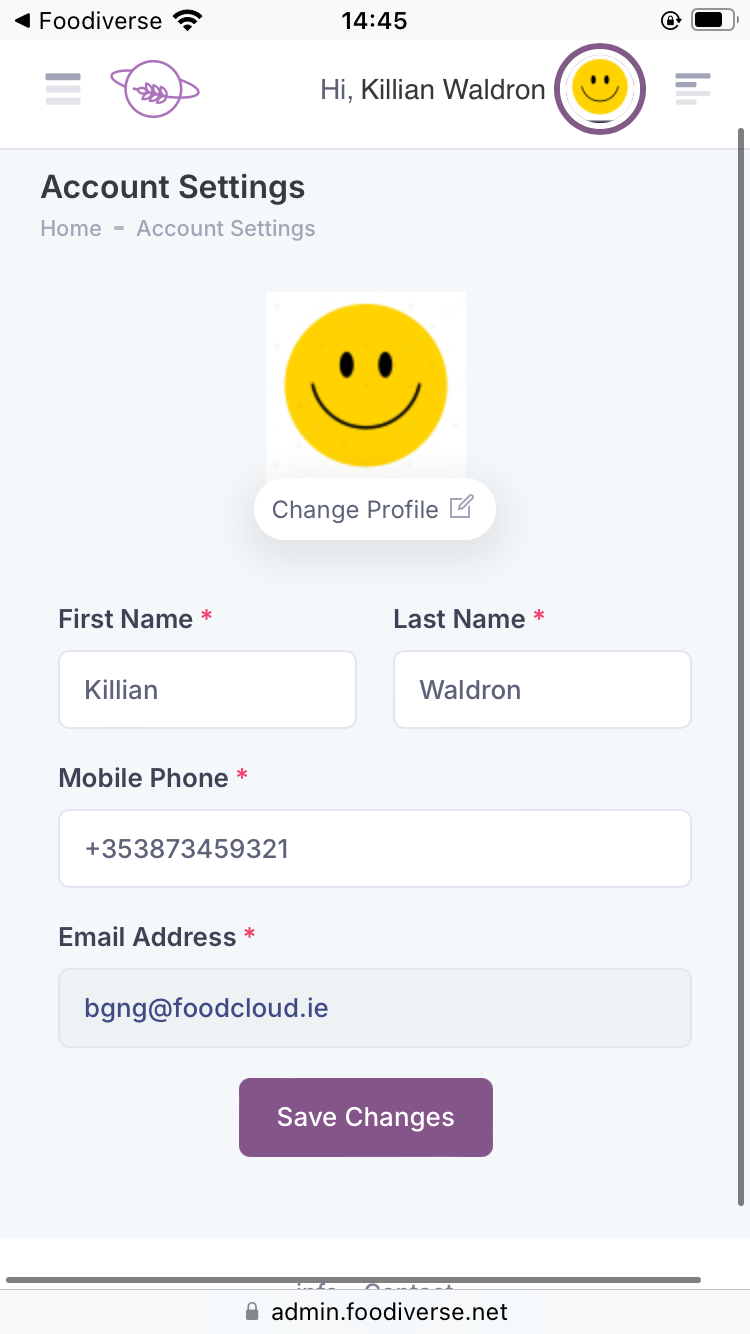
From here your profile details can be edited.
Email address cannot be edited
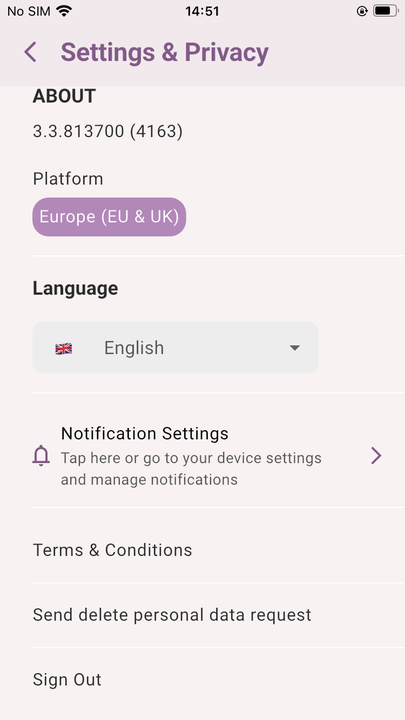
View Settings (Sign Out of Foodiverse)
Click the Gear icon (top right) to check the App Version, change Language or to Sign Out of Foodiverse.
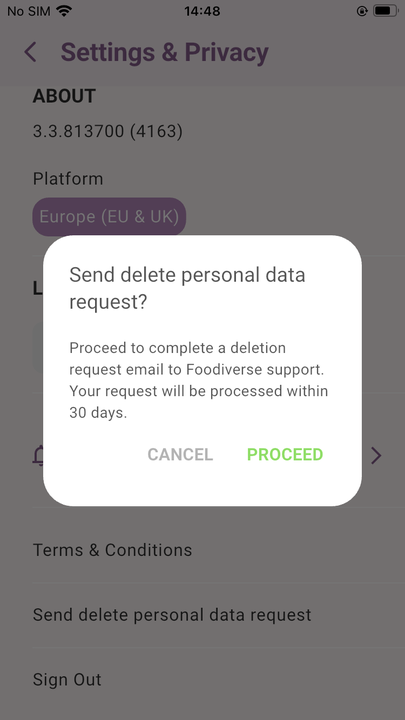
On this screen, you can also request to remove all your personal data from Foodiverse - click Send delete personal data request.
Change Language
Click the Language dropdown menu to select language.
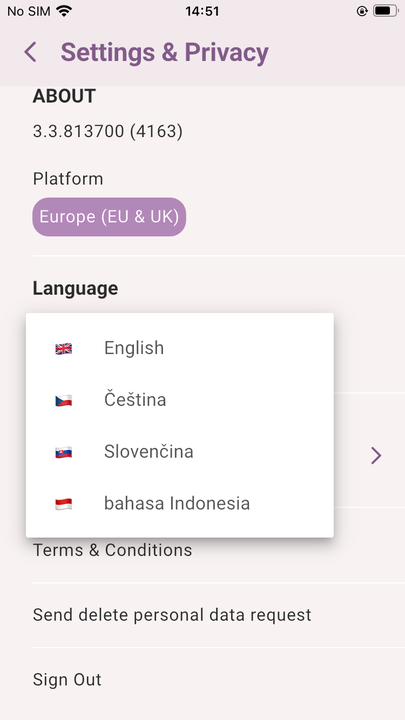
English, Czech and Slovak are currently supported.
You may also request to have your personal data removed from Foodiverse, Click Proceed to be brought to your associated email account and a prepopulated email addressed to the Foodiverse / FoodCloud support team
Related articles
Still haven’t found your answer? Try: