
Useful information for foodbank admins.
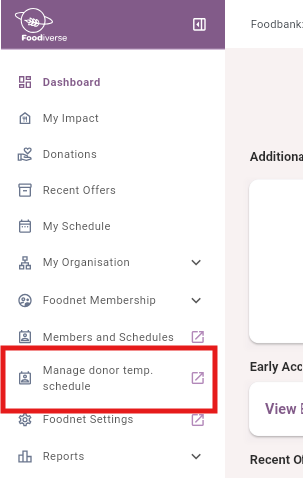
Navigate to the Manage donor temp. schedule from the left hand side menu on Foodiverse
Temp schedules can be applied in two way
-
Through Foodiverse UI manually selecting branches
-
Good option for smaller amounts of changes < 5
-
-
Using CSV file upload
-
Good option for bulk changes > 5
-

Steps to apply temp schedules through Foodiverse UI:
-
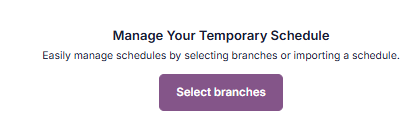
Click on ‘Select branches’ button in the center of the screen
-
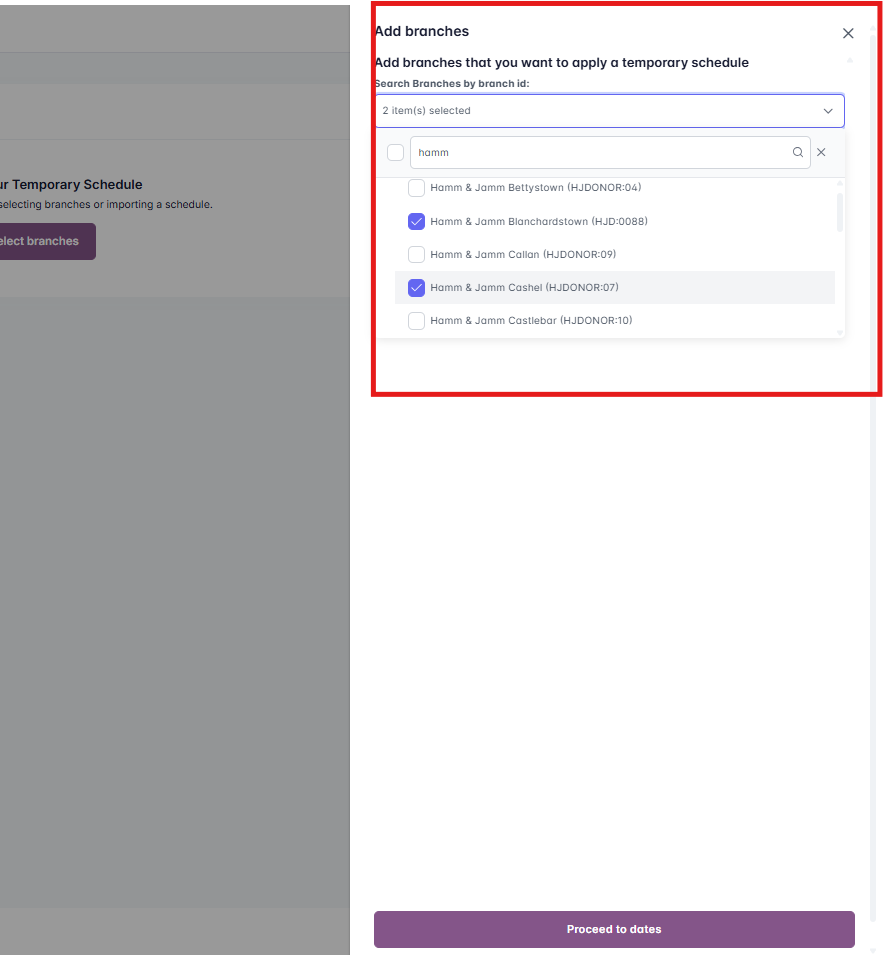
Search the branches using the Branch ID or Branch name
-
Click the branch name
-
You can select multiple branches at once, and track how many branch(es) total you’ve selected
-
-
Select the list of branches to be added and click on Proceed to dates
-
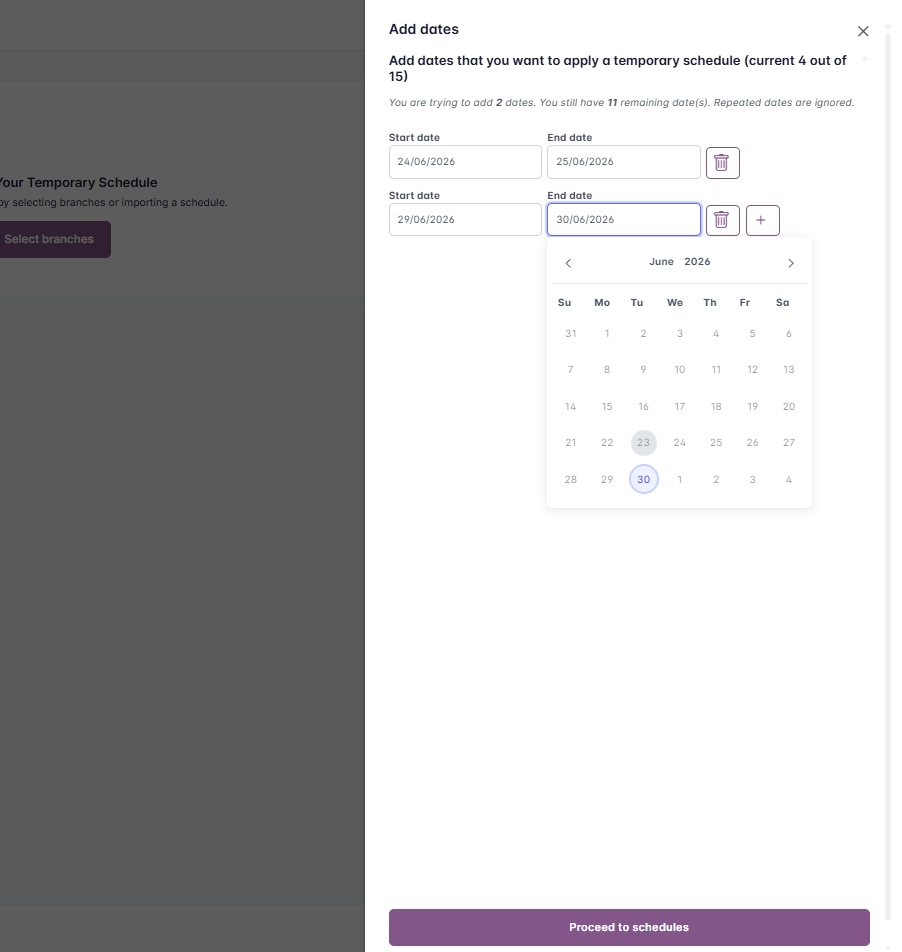
You then need to choose the date / date range / date ranges
-
-
Click on ‘Proceed to schedules’
-
Add branches is used to add more branches to the list
-
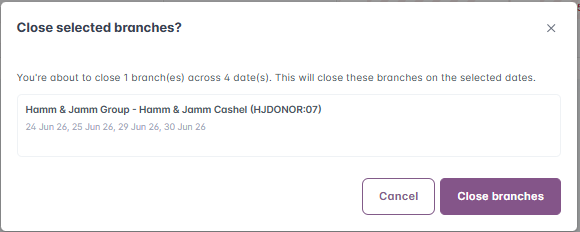
Close selected branches will close the checked branches for the dates chosen
-
Reset selected branch to default will remove any changes made on the page
-
Remove selected branch(es) from the table is the 4th option in the top left
-
Manage dates on the top right will allow you to reselect chosen dates
-
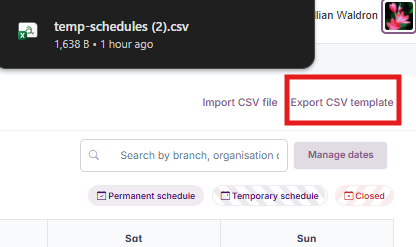
Import CSV file can be used to upload temp cals / closures in bulk using a CSV and not the UI
-
Confirmation will still be requested on the UI with all chaanges displayed
-
-
Export CSV template will download the template required for the upload option
-
-
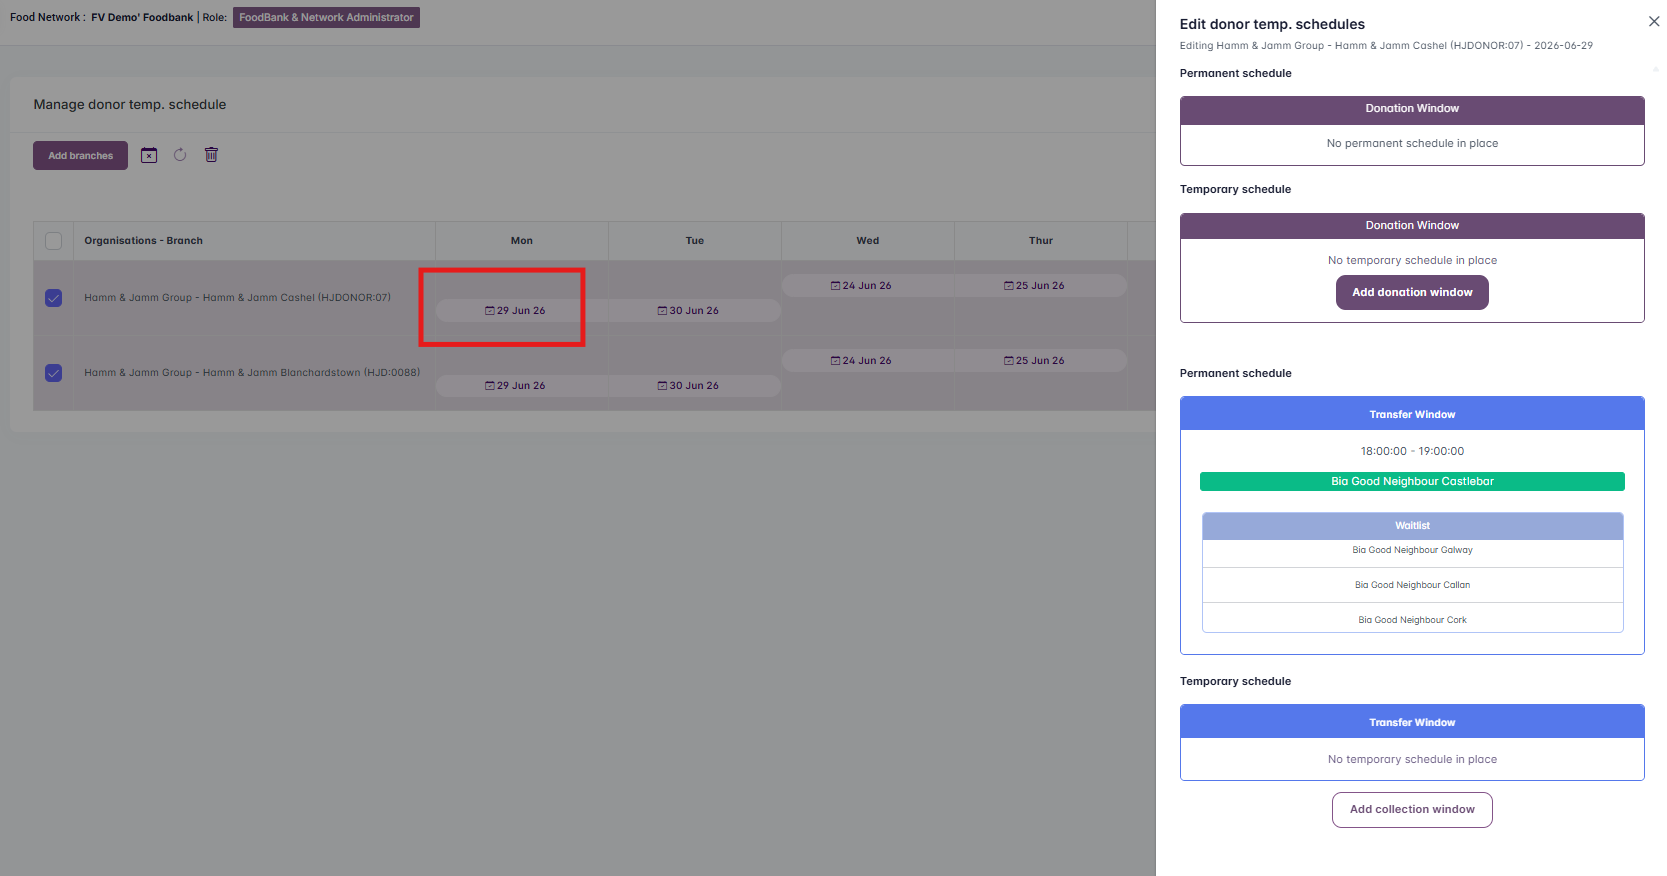
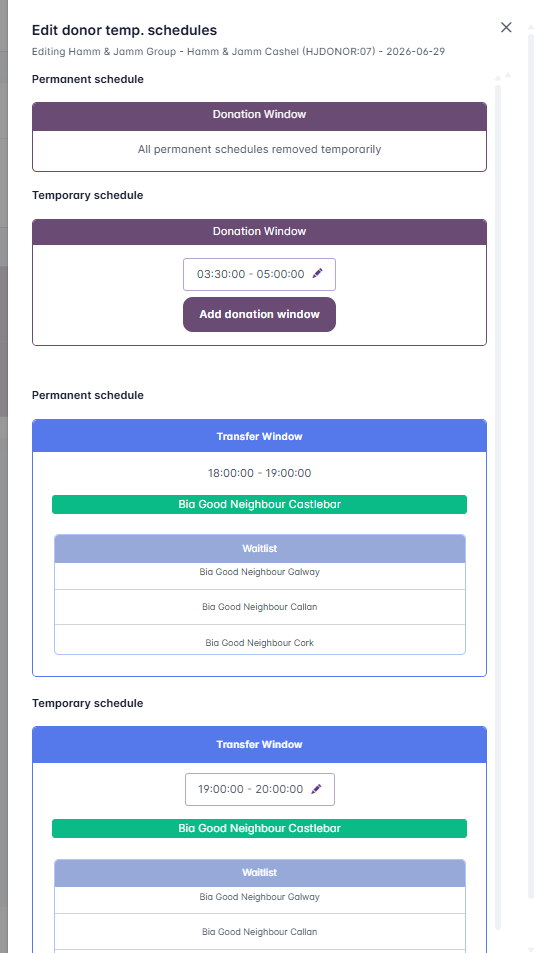
To create a temp. schedule, you must click the date in a cell
-
Then chose either (or both)
-
To change the DW
-
To change the CW
-
-
-
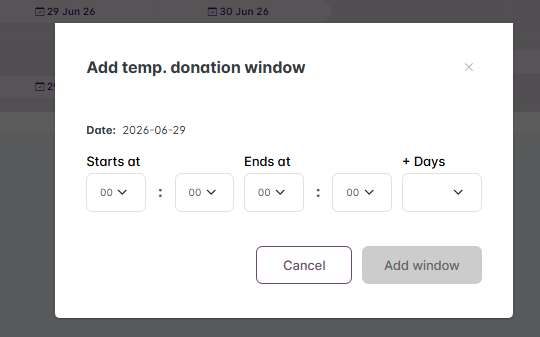
For a DW
-
Click ‘Add donation window’
-
-
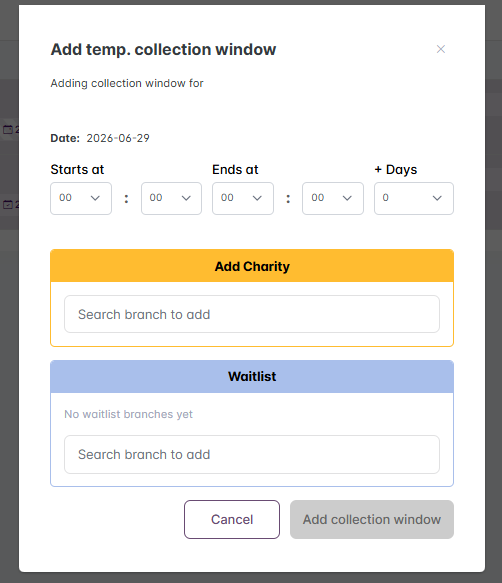
For a CW
-
Click ‘Add collection window’
-
A temp primary and or WL can be added
-
-
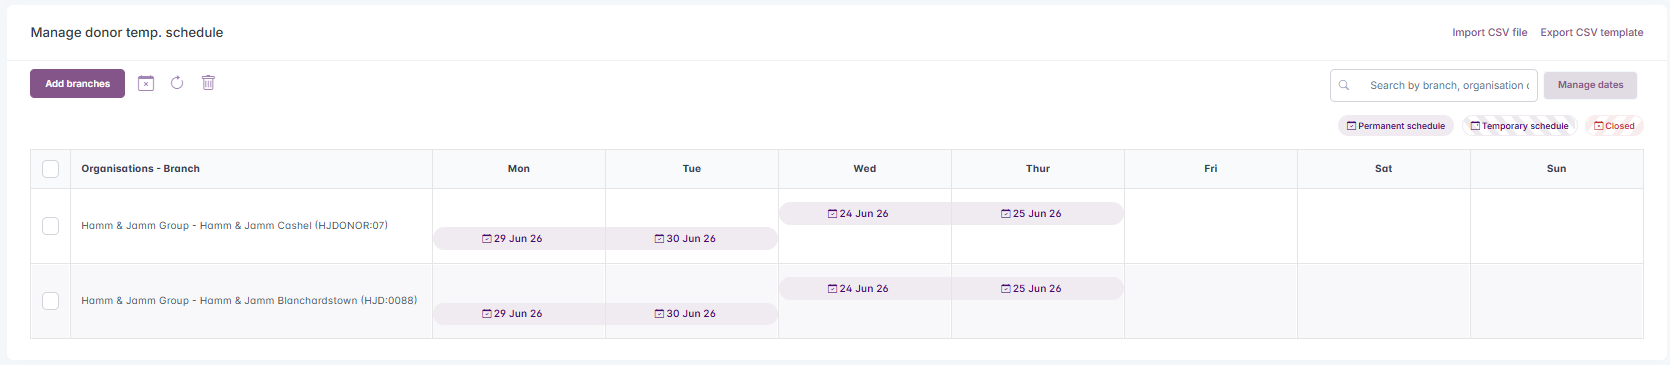
Here is an example of when both have a temp cal applied
-
An alternative is to use the branch closure feature
-
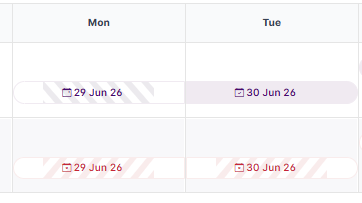
The changes can be seen in the corresponding cells
-
A legend is provided for the user’s reference
-
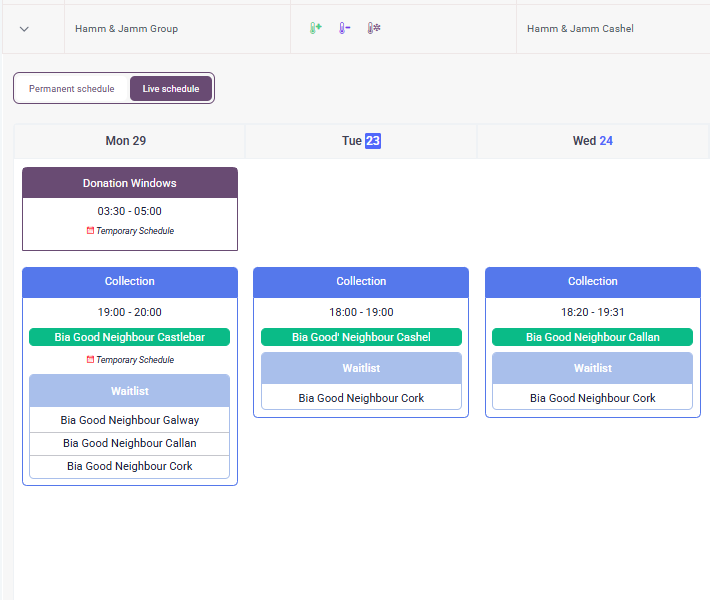
The changes can be seen from the Members and schedules page on the live schedule view
A temporary schedule created on a day with no existing schedule, will not create a schedule for that day
Steps to apply temp schedules using CSV file upload:
-
By clicking Export CSV template, your download will begin
-
The example CSV file is below.
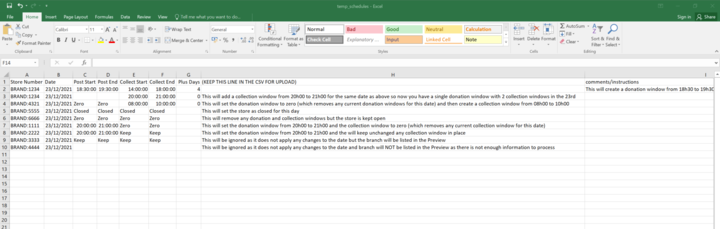
Do not delete any of the headings, to do so will give errors when uploading.
-
Store Number is the branches ID.
-
Date is the date you wish to apply the temp. cal to.
-
Post Start is the time the offer window starts.
-
Post Endis the time the offer window ends.
-
Collect Start is the time the collection window opens.
-
Collect End is the time the collection window ends.
-
Plus Days is the amount of days you wish to apply the entered data for.
-
Adding 1 Plus days the collection window will read Today 19:00 to Tomorrow 20:30, etc.
-
(KEEP THIS LINE IN THE CSV FOR UPLOAD) is there to remind the user to not change the first row.
-
Ccomments/instructions gives us an example of the the line will do when applied.
-
Fill in your CSV file using the branch official ID, and any changes to be made on specific dates
-
Once uploaded, you will be brought to a summary page to see your changes before uploading to FV